

BMW E30 Central Cluster Voltmeter Installation Guide
The BMW E30 instrument cluster provides plenty of useful information, but battery and charging voltage was never displayed directly to the driver. This can make alternator, battery and charging-system problems more difficult to notice before they become serious.
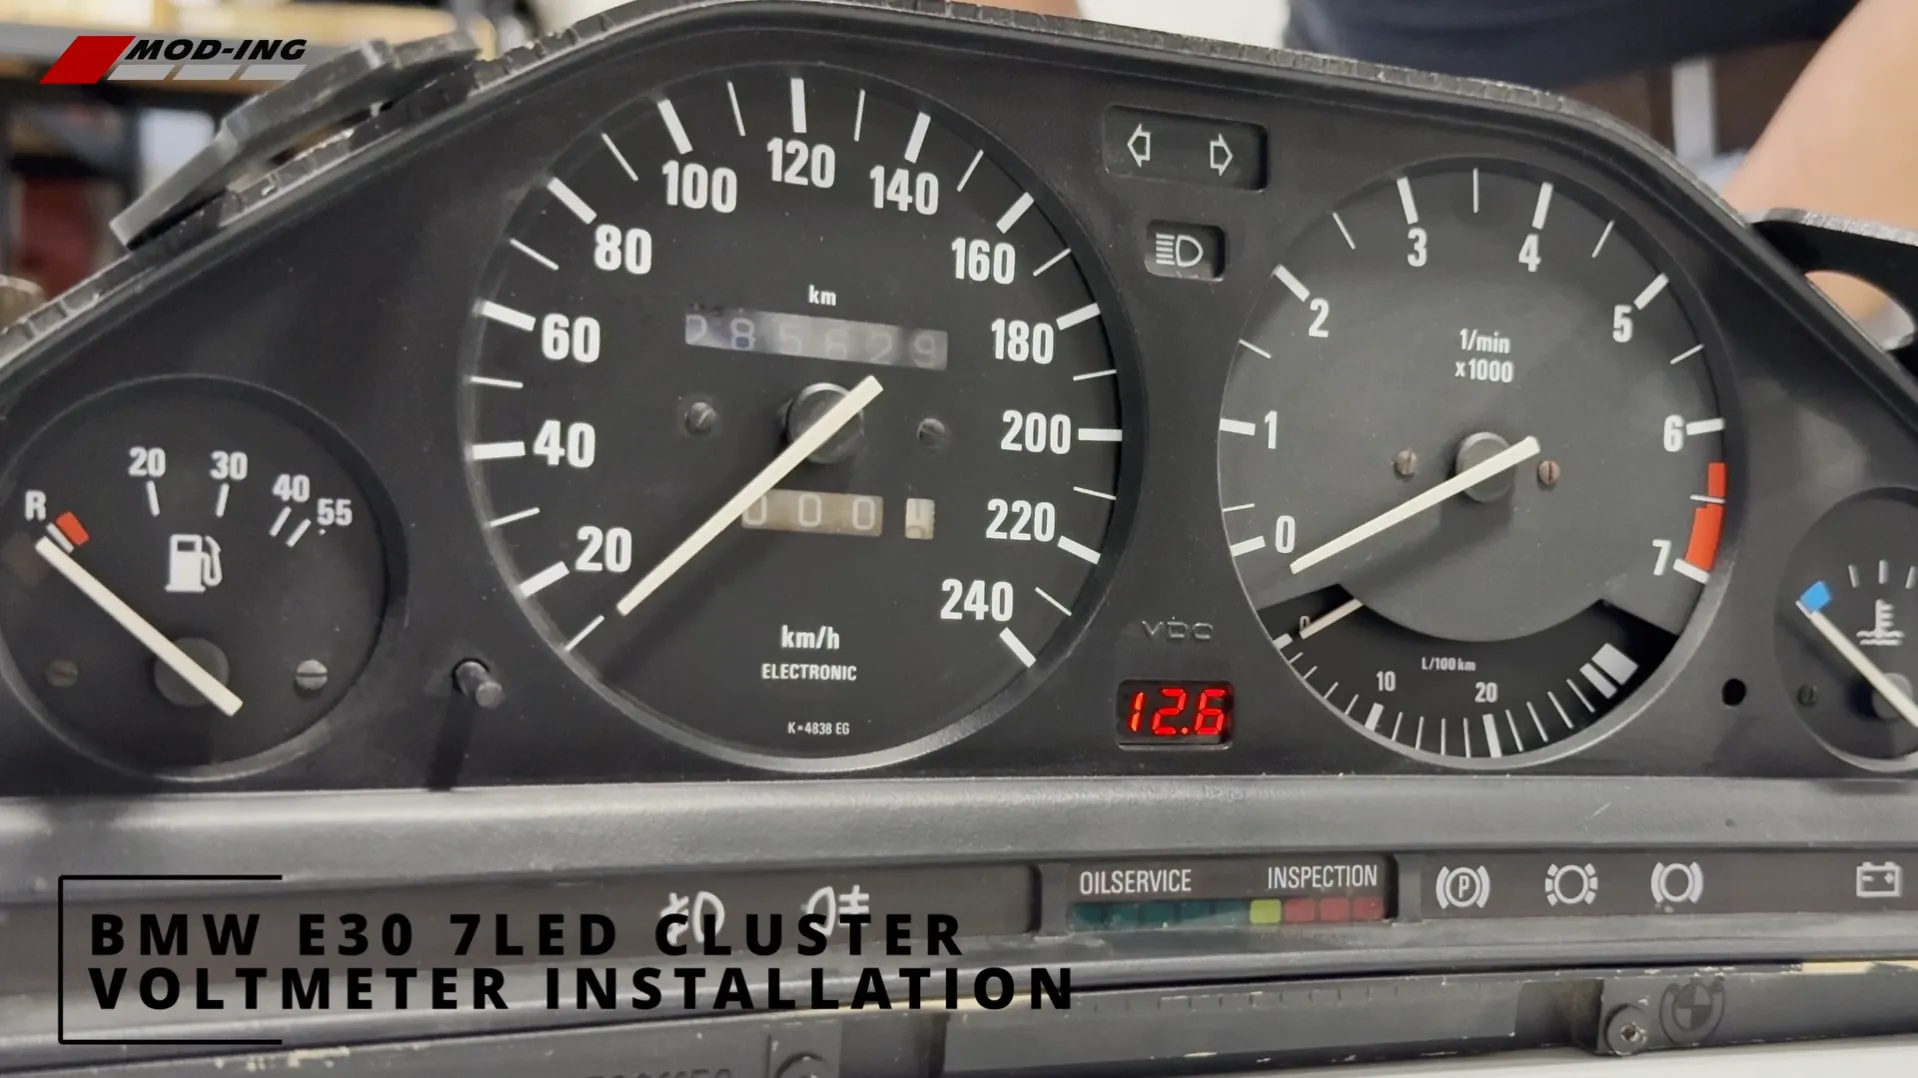
The Mod-ing instrument cluster voltmeter adds a discreet voltage display directly inside the original E30 cluster. It installs in an unused position within the cluster housing and is designed to look integrated rather than like an additional aftermarket gauge.
This guide covers installation of both Mod-ing versions:
The installation procedure is the same for both versions.
Tools and Parts Required
Before beginning, prepare the instrument cluster and the tools required for installation.
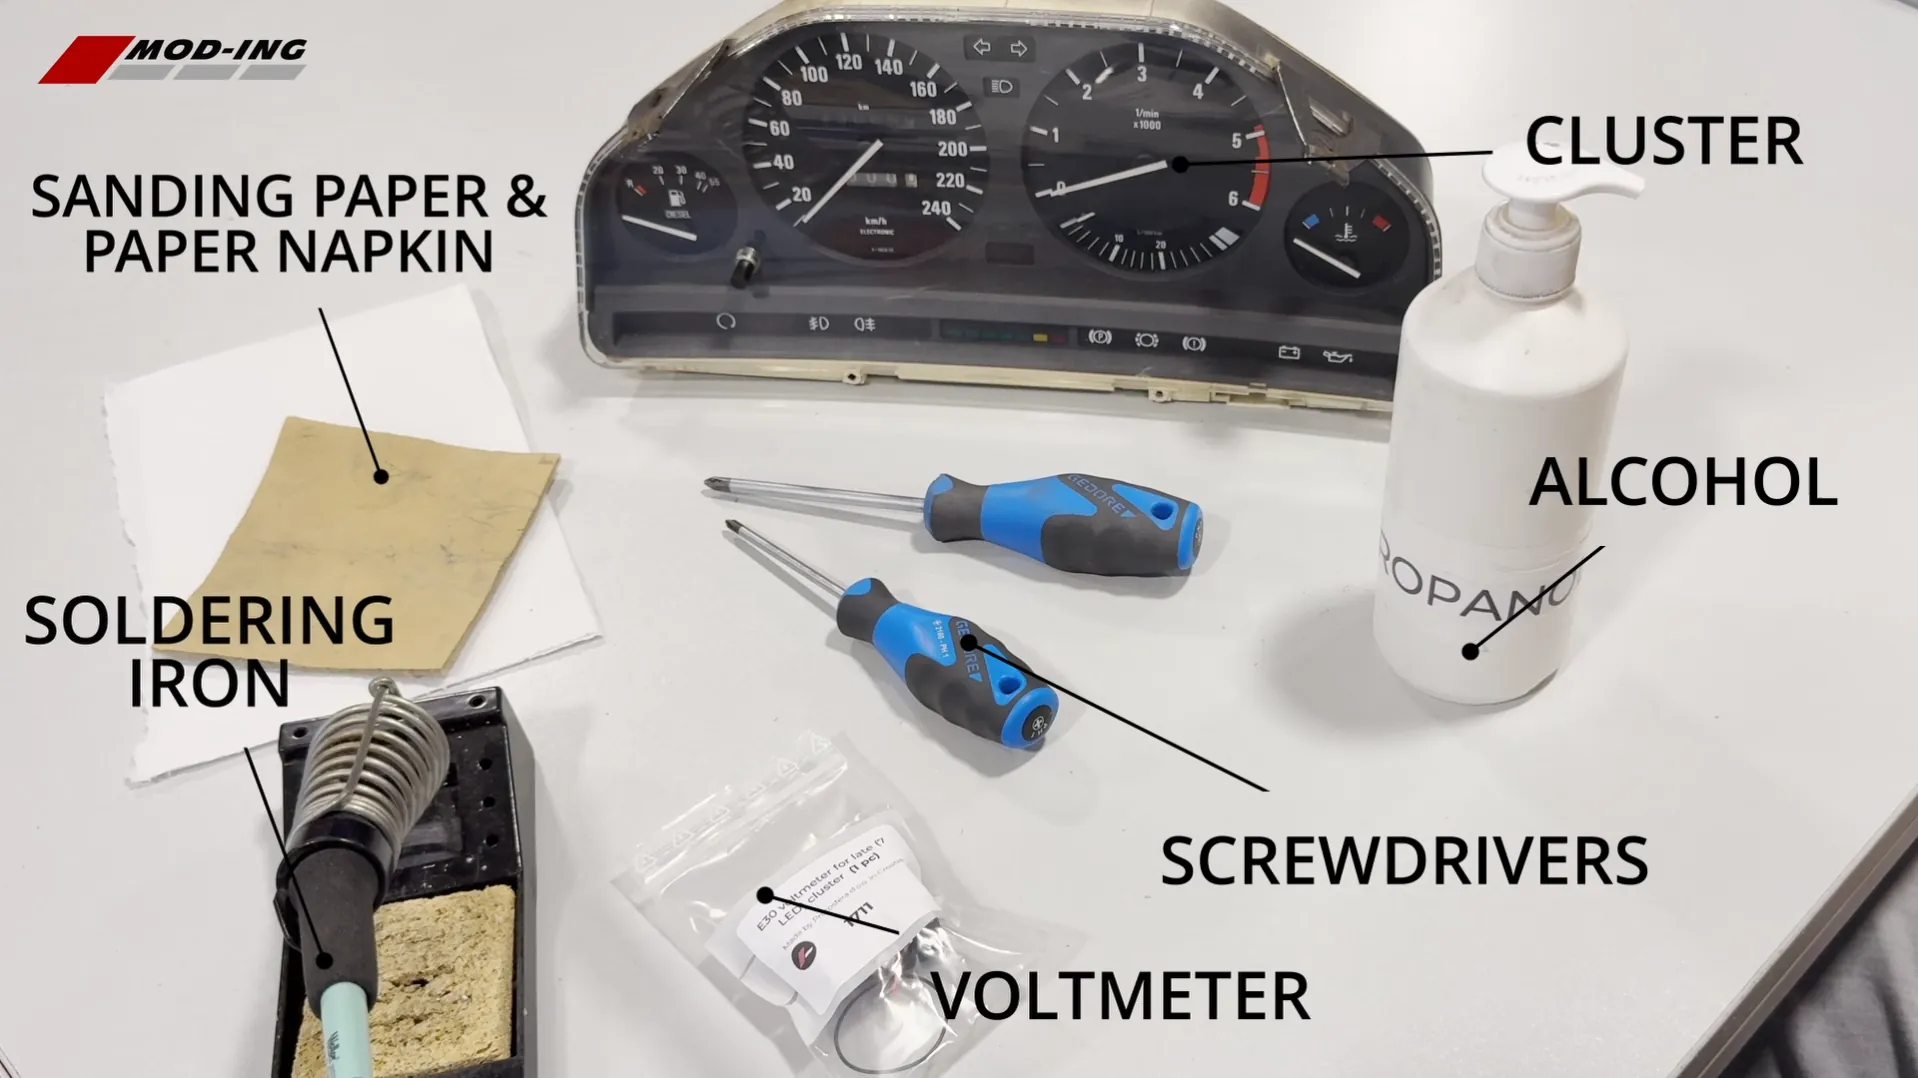
You will need:
- BMW E30 instrument cluster
- Correct Mod-ing 7-LED or 9-LED voltmeter
- Screwdrivers
- Fine sandpaper
- Soldering iron and solder
- Alcohol for cleaning
- Paper towel or preferably a lint-free cloth
Work on a clean, well-lit surface where the cluster cannot be scratched or damaged.
Step 1 – Open the Instrument Cluster
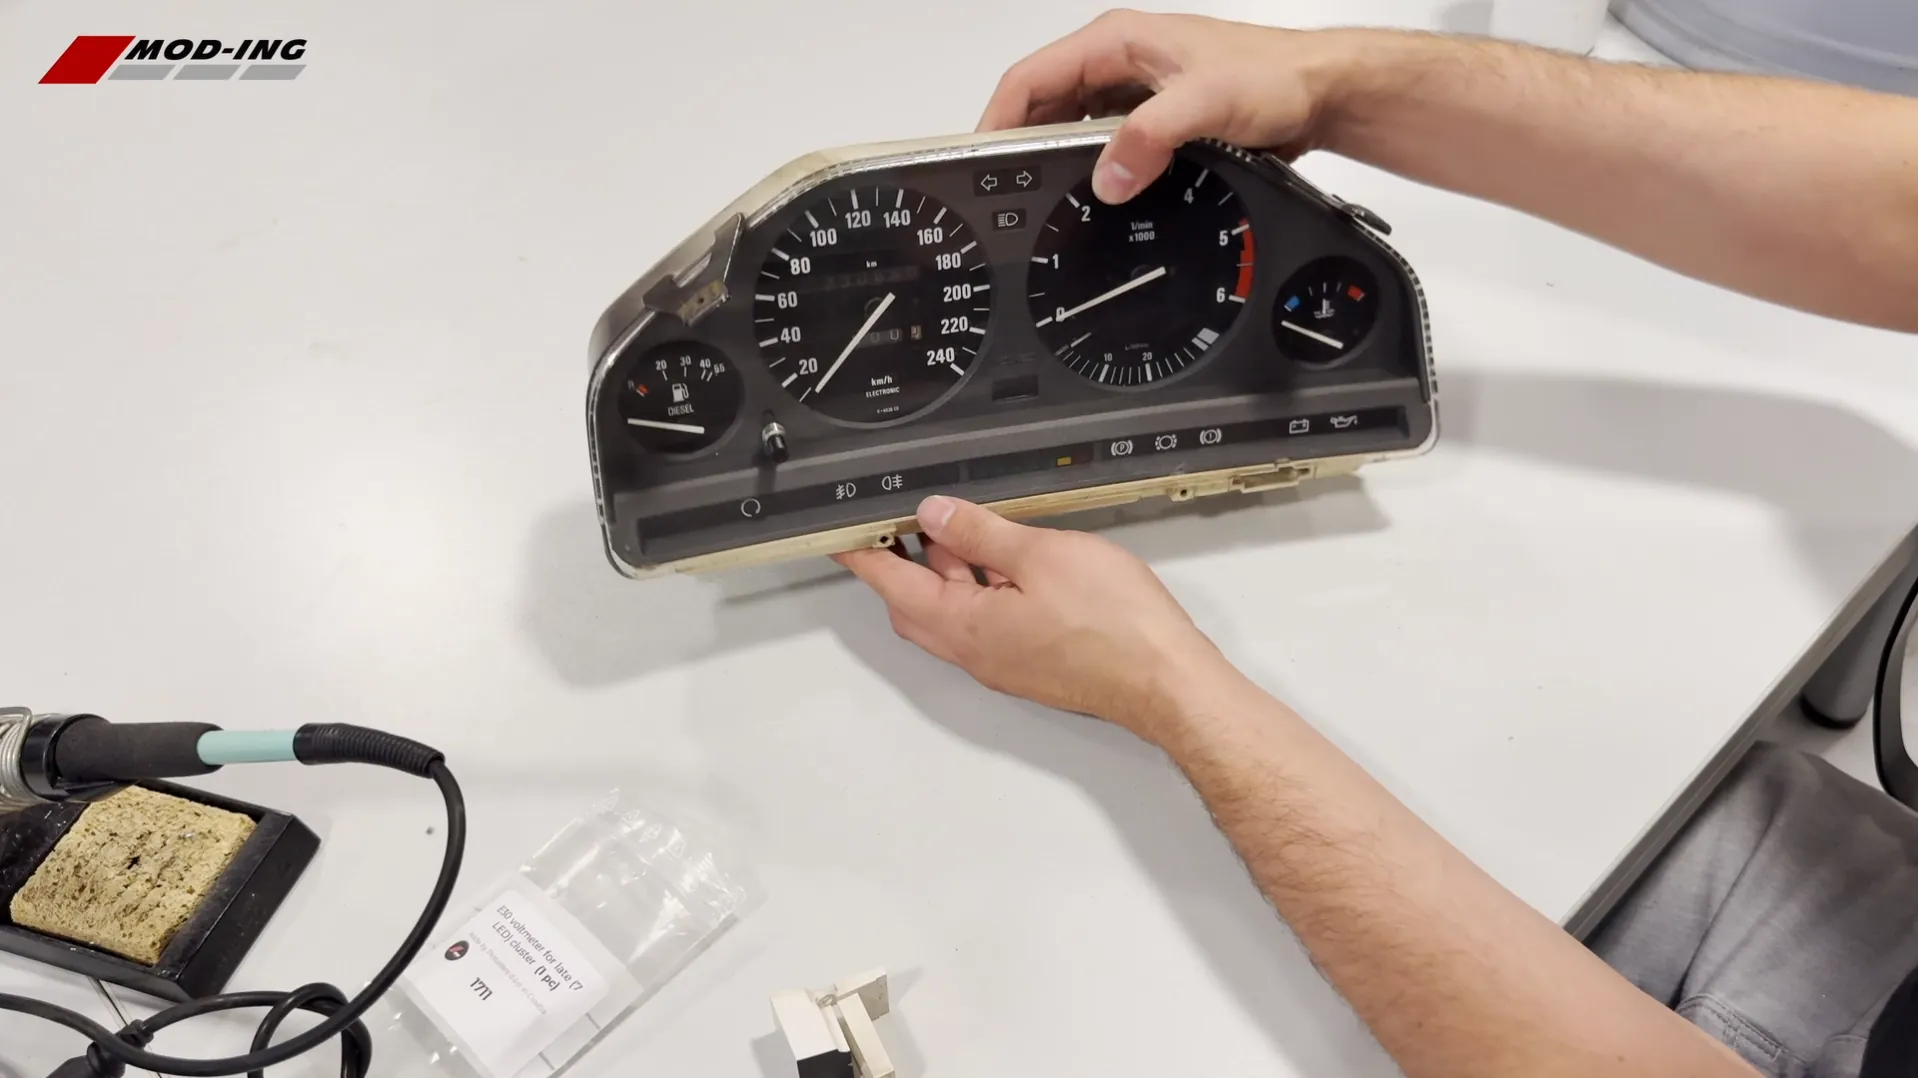
Place the removed E30 instrument cluster carefully on your work surface.
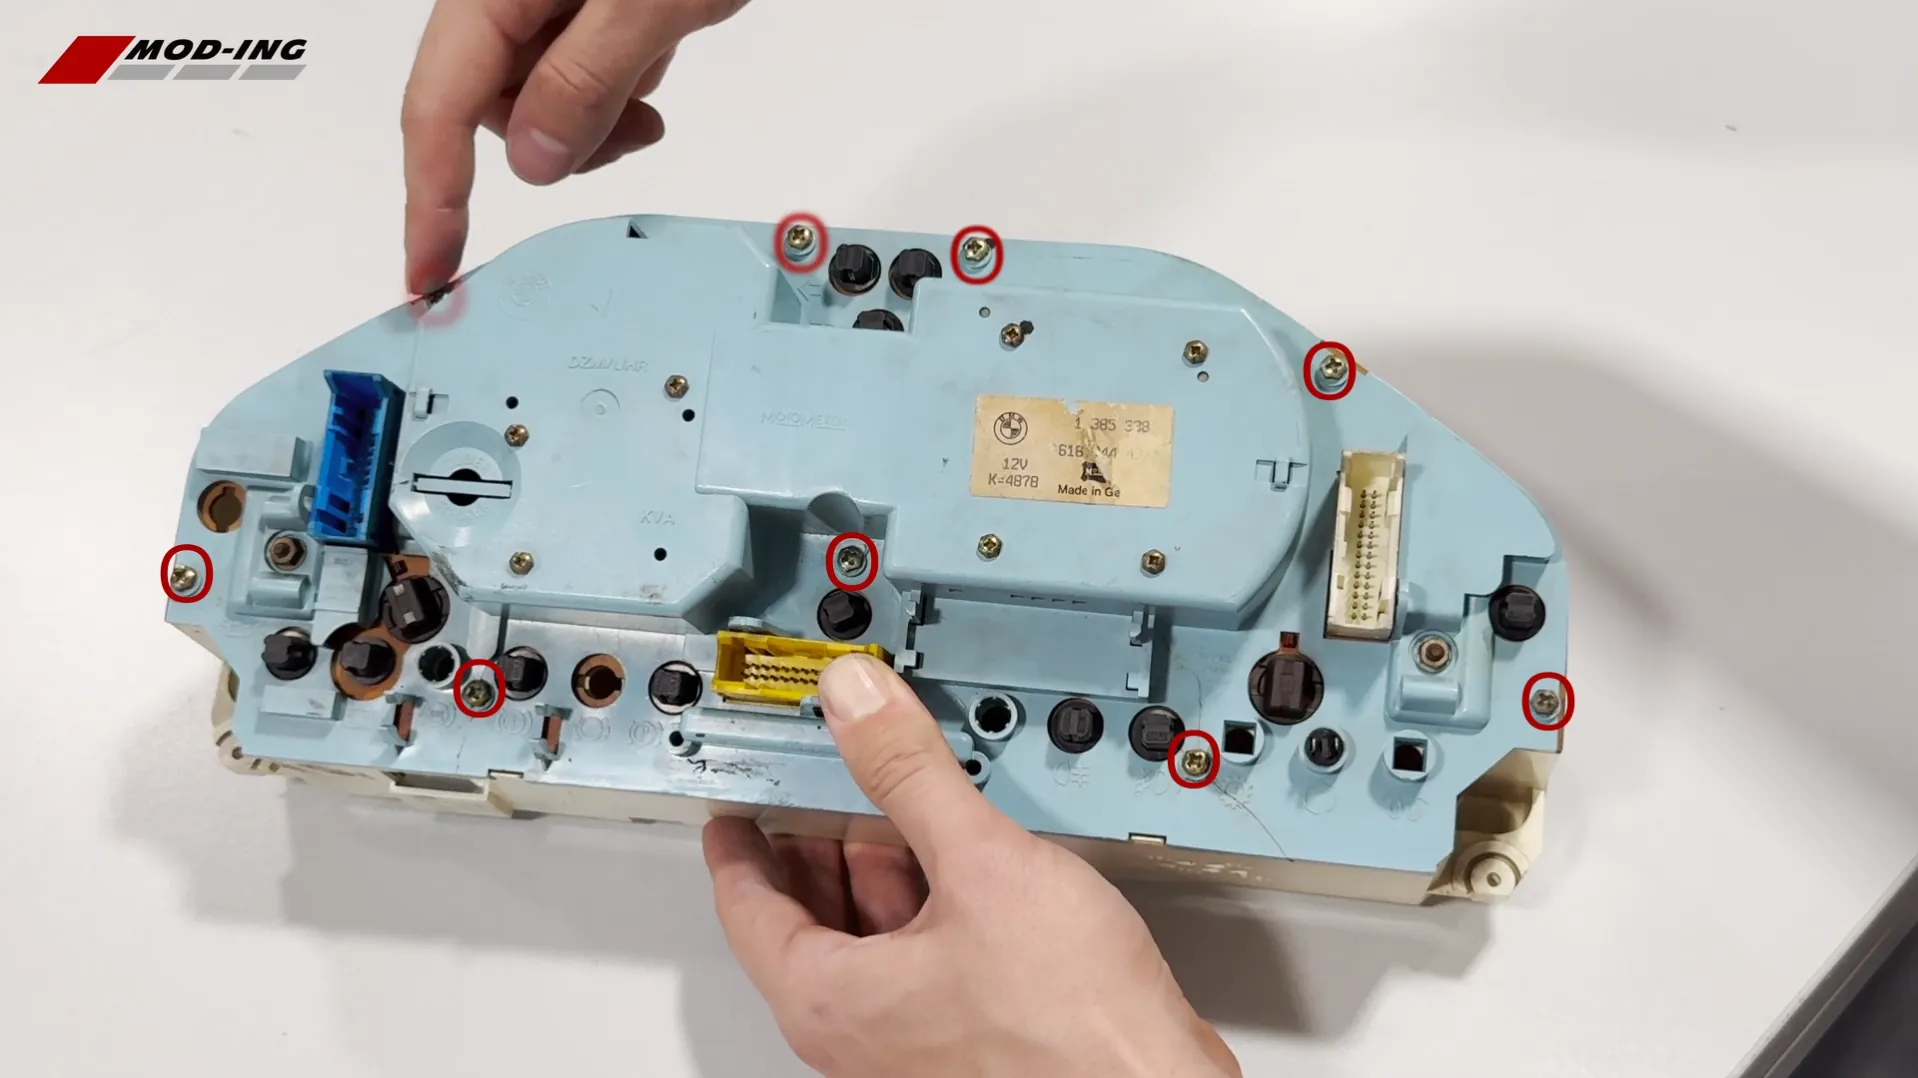
There are nine screws on the rear of the instrument cluster holding the housing together.
Remove all nine screws and place them somewhere safe.
Once they have been removed, carefully separate the front and rear sections of the instrument cluster. Do not force the two halves apart and pay attention to the internal components as the housing separates.
Step 2 – Remove the Original Bracket
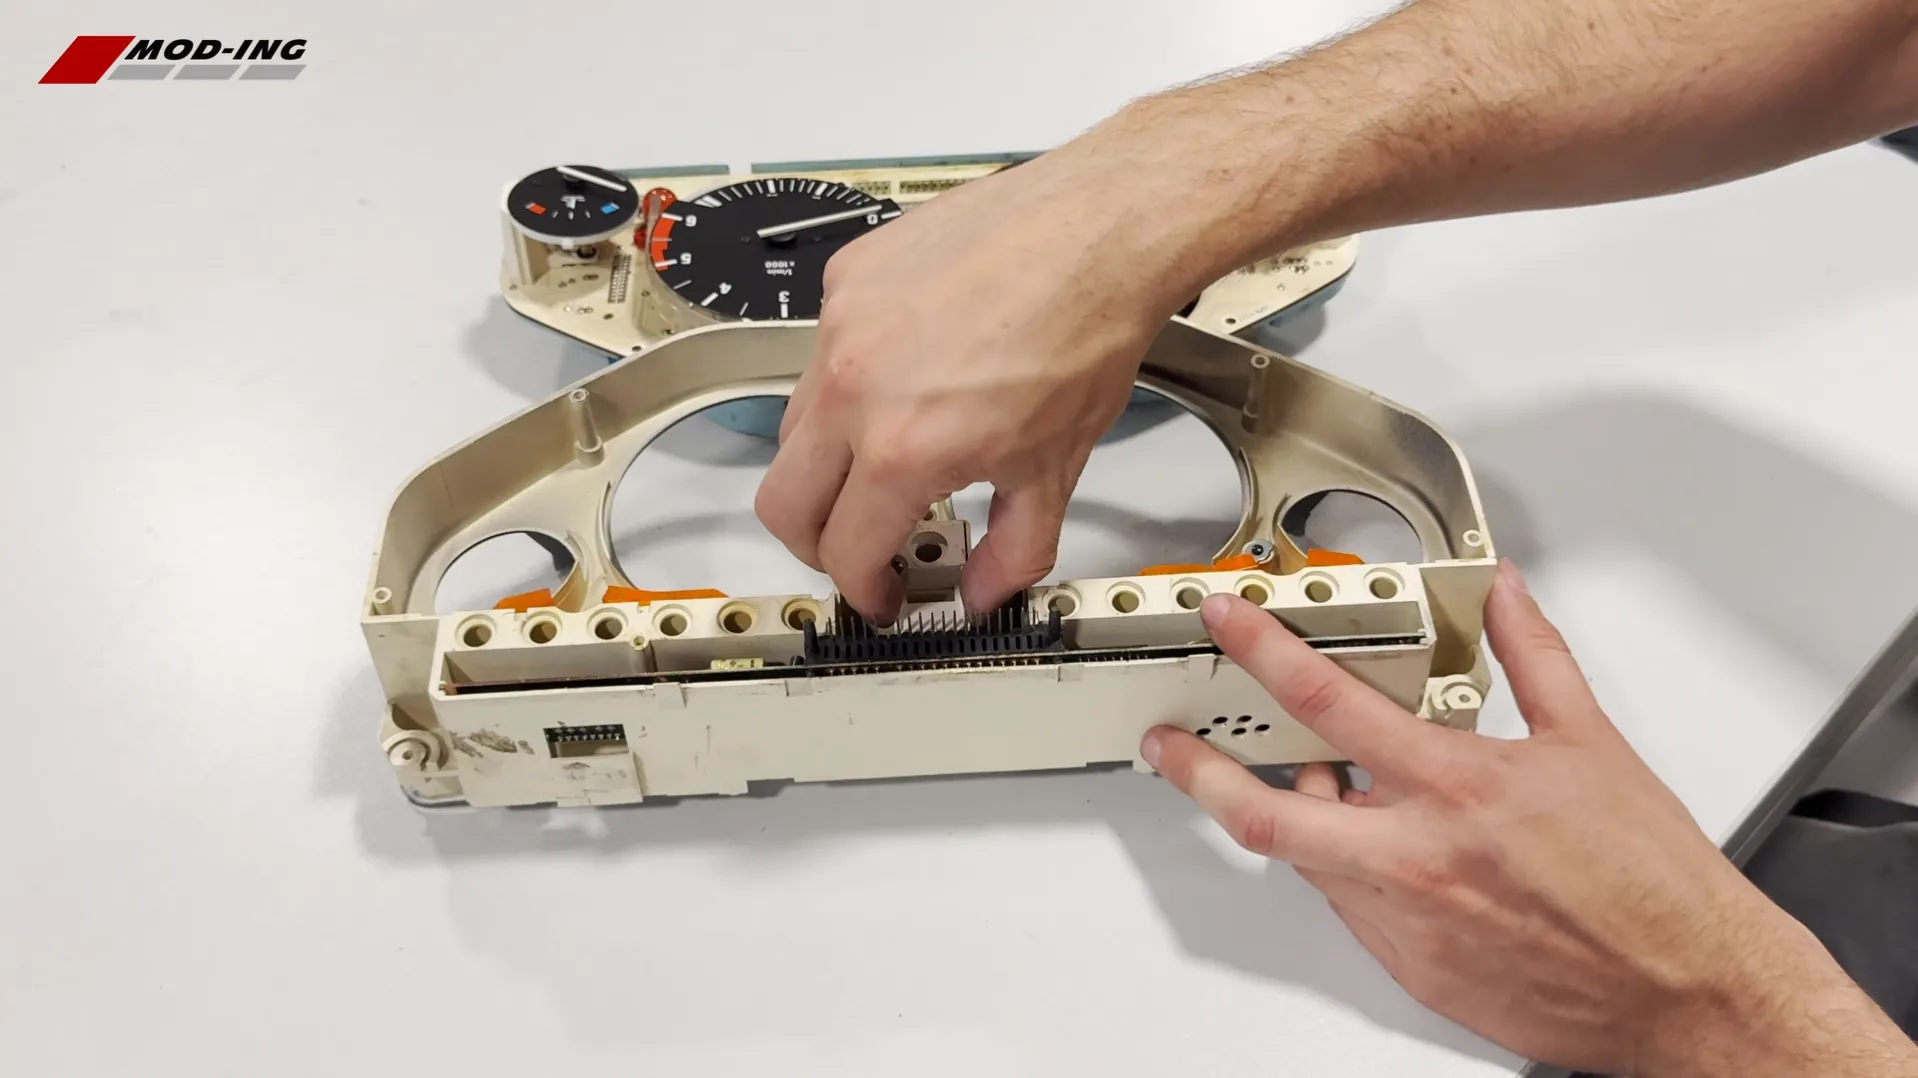
With the cluster open, locate the original bracket occupying the position where the new voltmeter will be installed.
Remove the screw securing the bracket and take the original bracket out of the cluster.
Keep the original screw, as it will be reused to mount the new voltmeter.
No permanent modification to the cluster housing is required for mounting the voltmeter.
Step 3 – Install the Voltmeter
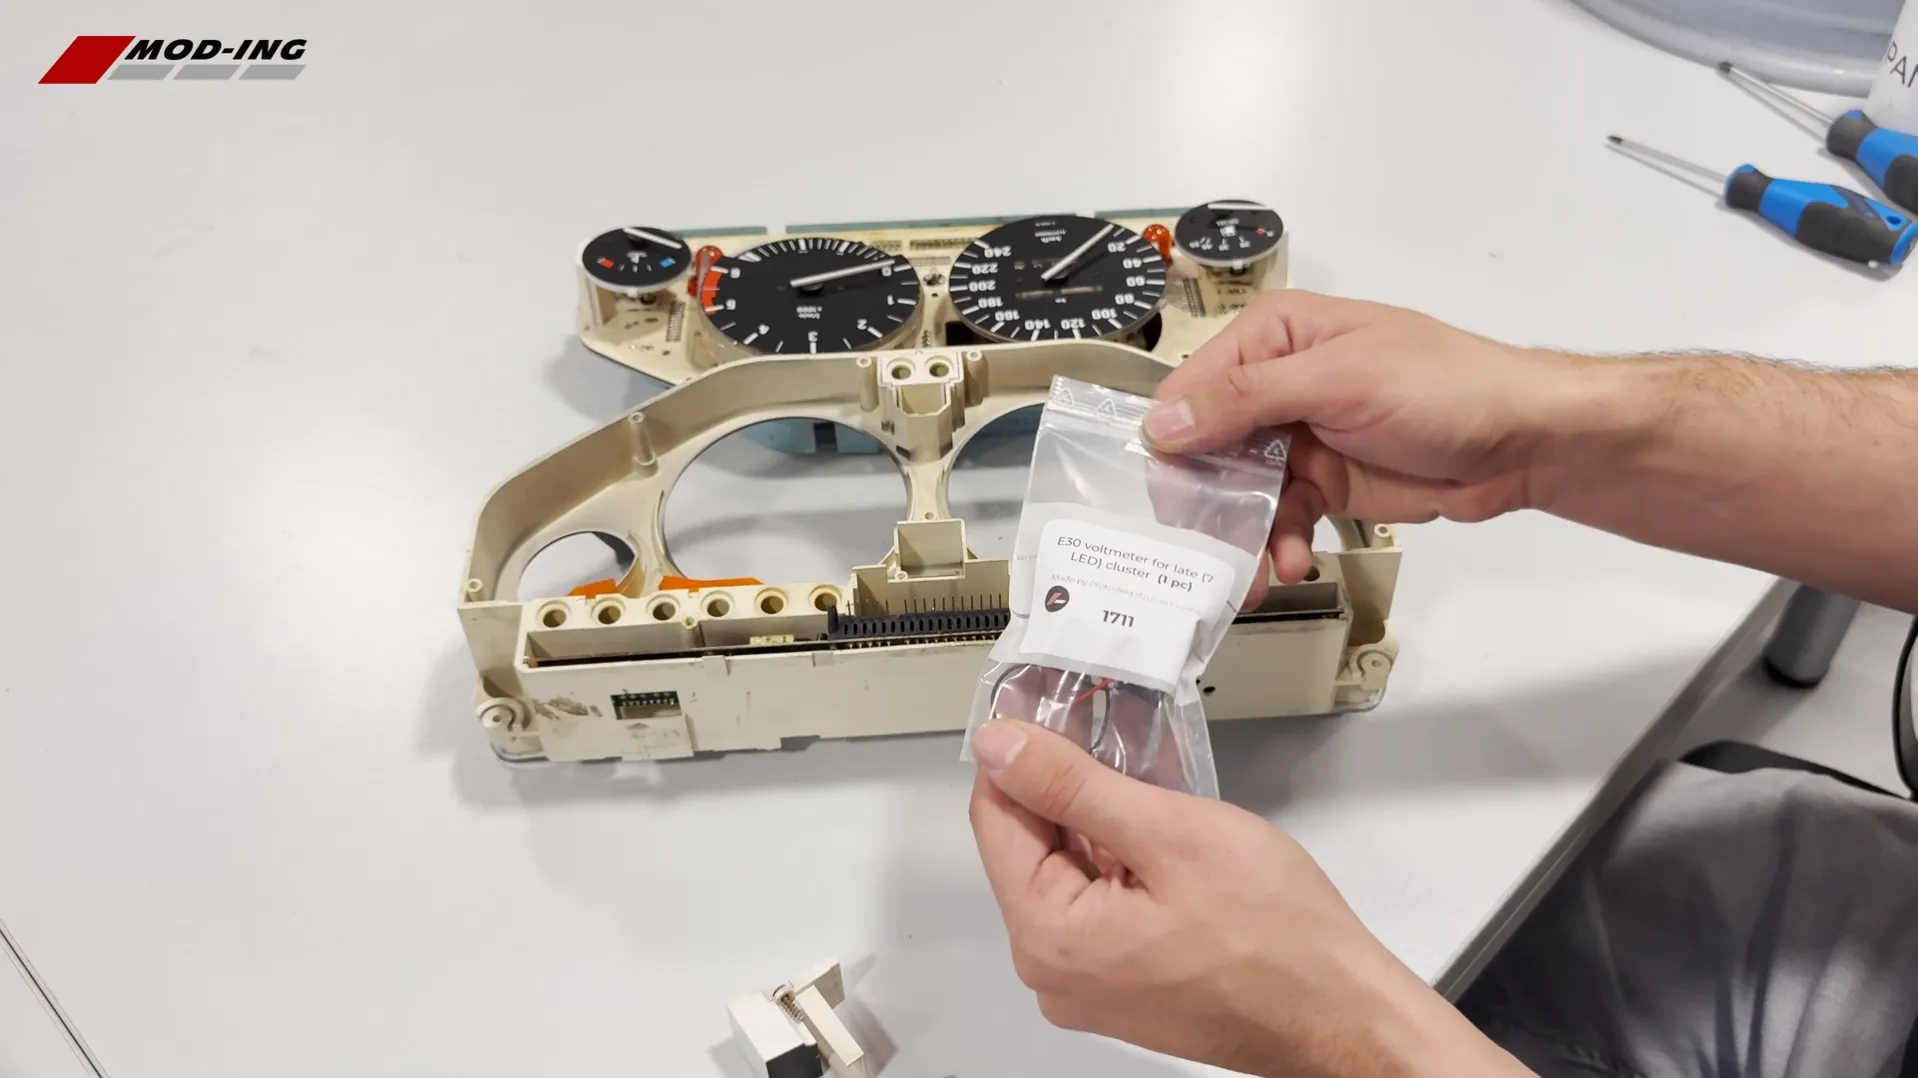
Position the Mod-ing voltmeter in the location previously occupied by the original bracket.
Align the mounting point and secure the voltmeter using the original BMW screw removed in the previous step.
Before continuing, check that the voltmeter is correctly seated and securely mounted.
Do not route or trap the wires yet. They will be positioned correctly after the electrical connections have been made.
Step 4 – Prepare the Soldering Points
Before soldering the voltmeter wires, the appropriate metal contact areas need to be prepared.
The original contact surface has a coating that can prevent solder from bonding properly.
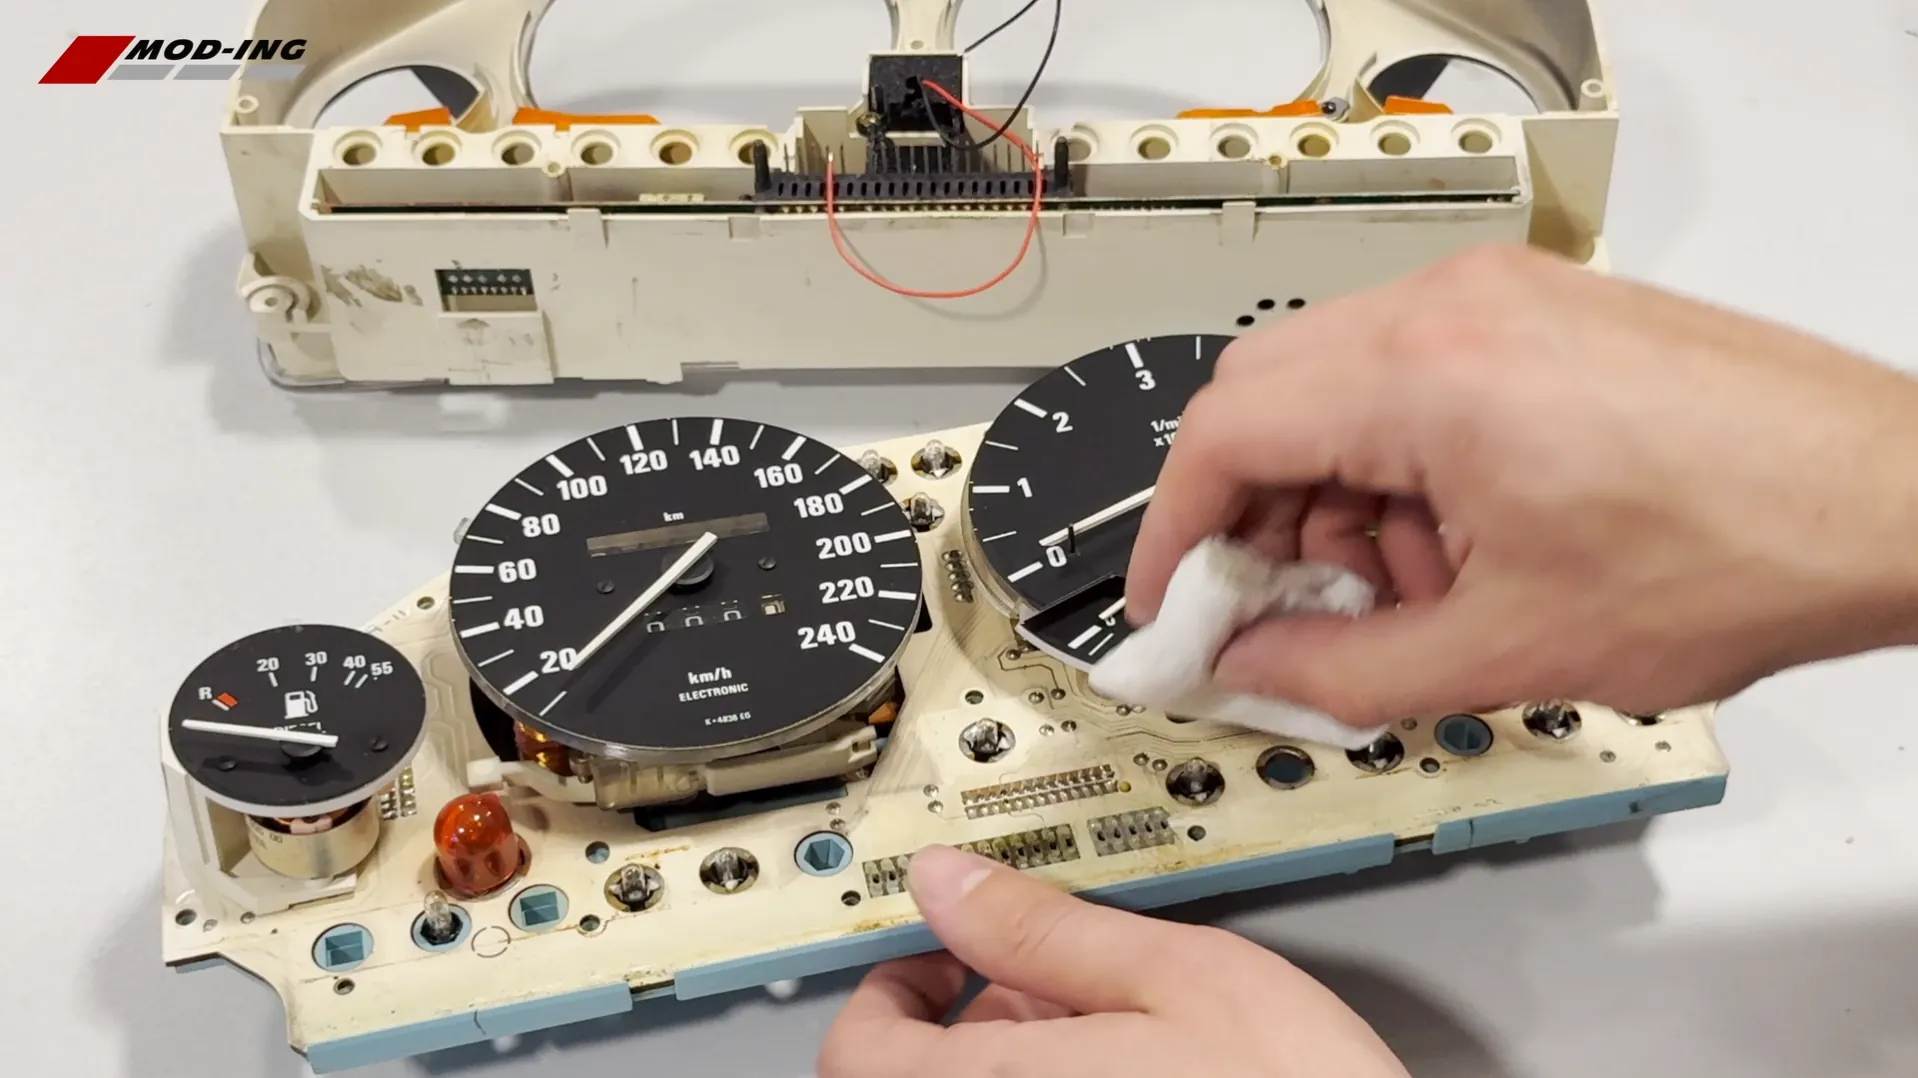
Using fine sandpaper, lightly sand only the areas where the connections will be soldered. The objective is simply to expose a clean metal surface, not to remove unnecessary material.
After sanding, clean the prepared areas with alcohol and a paper towel or lint-free cloth.
This removes sanding dust, grease and other residue that could interfere with the solder joint.
Allow the alcohol to evaporate completely before soldering.
Step 5 – Solder the Voltmeter Wiring
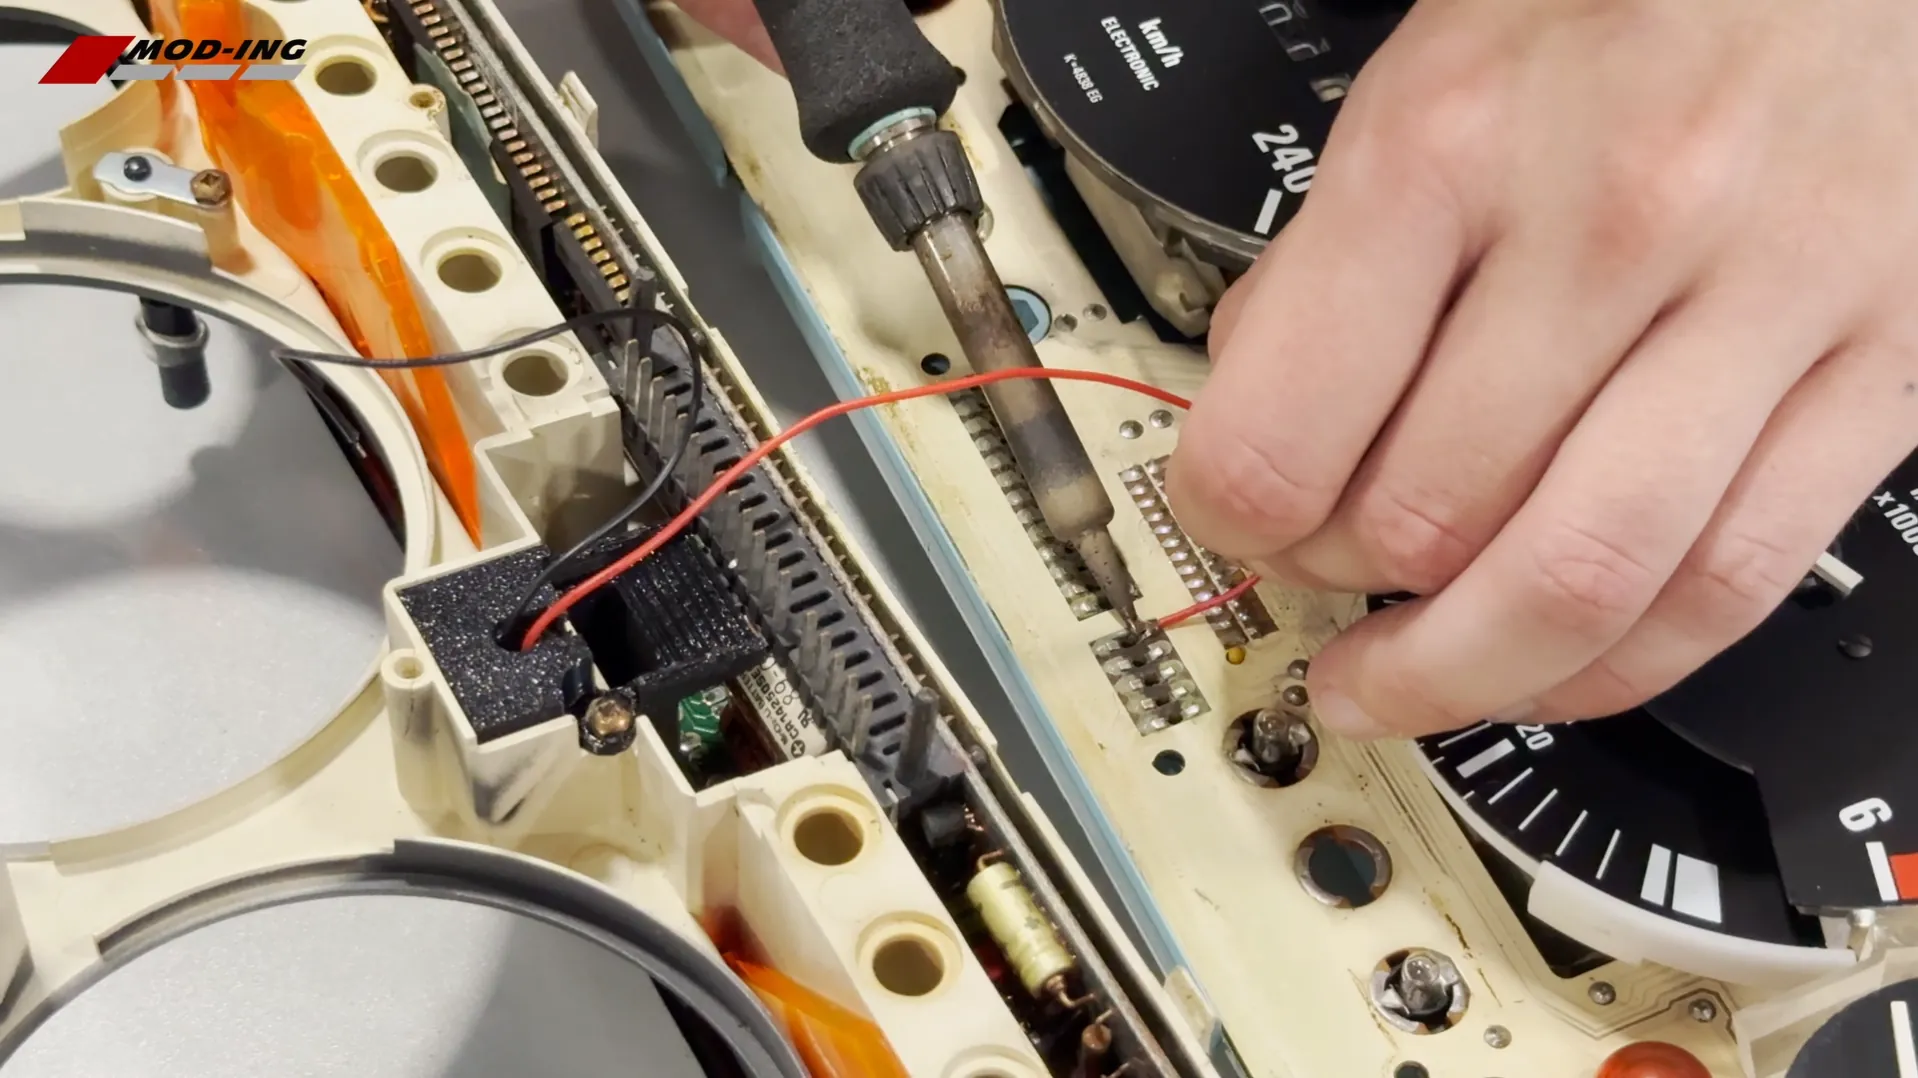
The voltmeter uses two electrical connections.
The 7 and 9 LED versions use different pins to take and measure power:
- 7-LED voltmeter version: the red wire is soldered to the fifth contact point, while the black wire is soldered to the seventh contact point,
- 9-LED voltmeter version: the power wire is soldered to the seventh contact point, while the ground wire is soldered to the first contact point.
Use only enough solder to produce a clean and reliable connection. Avoid excessive solder that could spread onto neighbouring conductive areas.
Once finished, visually inspect both connections and gently check that the wires are securely attached.
Step 6 – Route the Wires
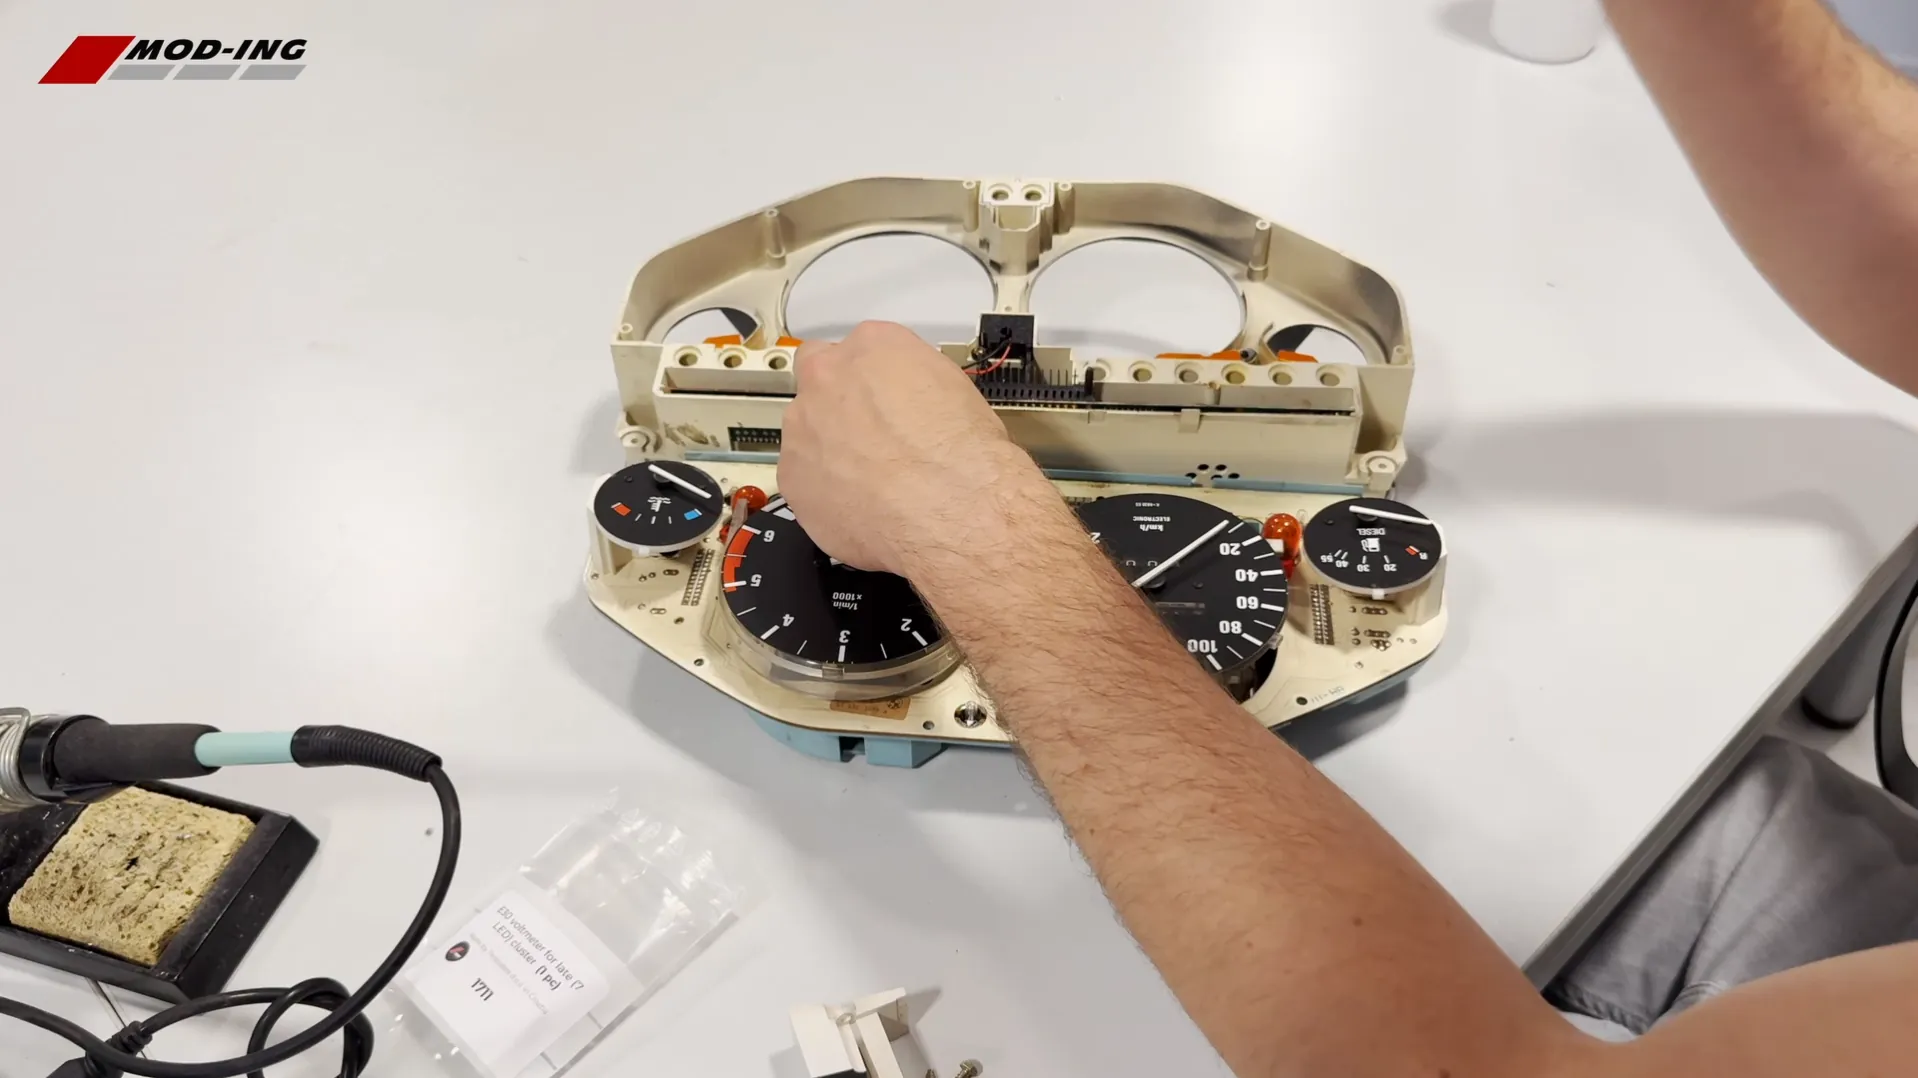
Before closing the cluster, carefully arrange the voltmeter wiring.
The wires should follow a natural route through the available space and should not pass across moving or sensitive components.
Most importantly, make sure neither wire is positioned between the two halves of the instrument cluster housing.
A pinched wire can damage the insulation, break the solder connection or cause an electrical fault.
Take a moment to check the complete wire route before closing the housing.
Step 7 – Reassemble the Instrument Cluster
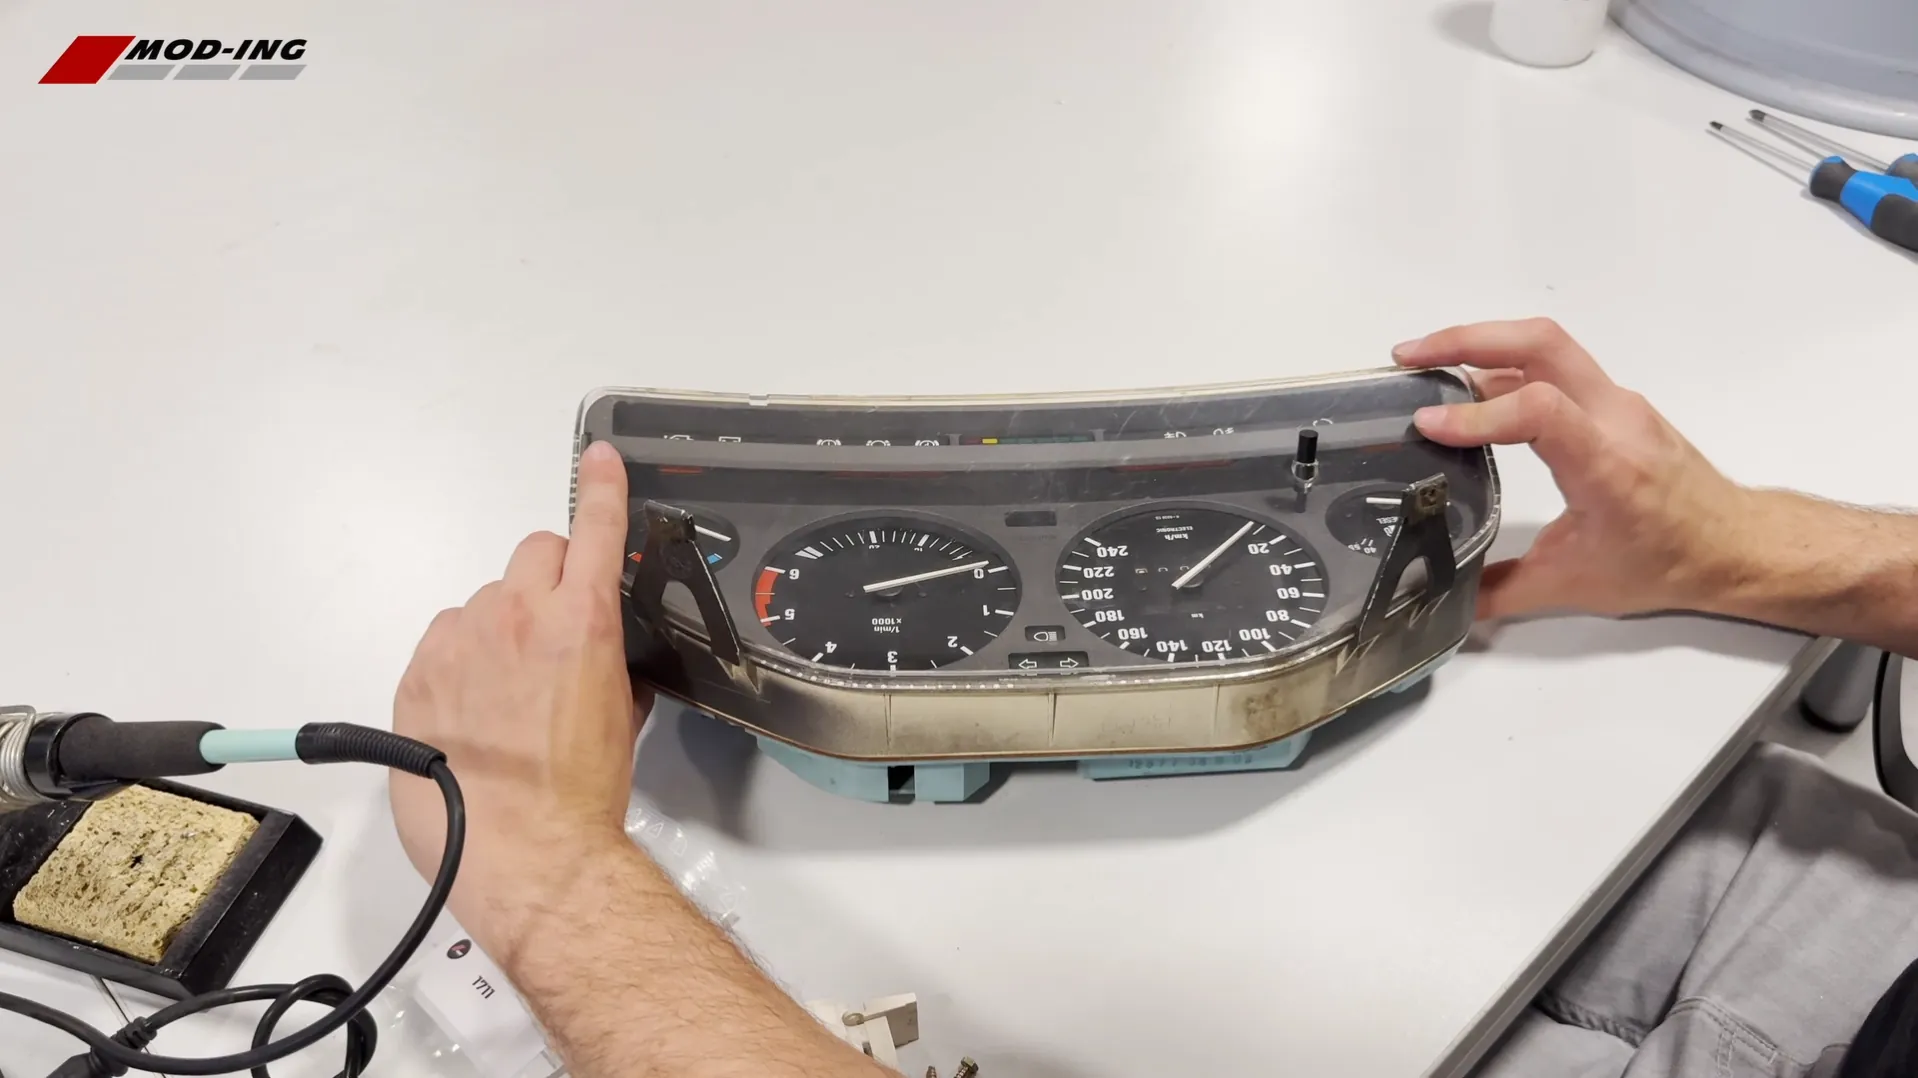
Carefully bring the front and rear sections of the instrument cluster back together.
Do not force them closed.
If the two halves do not sit together naturally, reopen the cluster and check the position of the voltmeter and wiring.
Once everything is correctly seated, reinstall the nine screws removed at the beginning of the procedure.
Tighten them securely by hand without overtightening the plastic housing.
Step 8 – Reinstall the Cluster
The completed instrument cluster can now be reinstalled in the BMW E30.
Reconnect the original electrical connectors and reinstall the cluster using the normal E30 instrument cluster installation procedure.
Once the vehicle is powered, the new voltmeter will display the electrical-system voltage directly within the instrument cluster.
Installation Tips
Disconnect the vehicle battery before removing, installing or working on the instrument cluster.
When preparing the soldering points, sand only enough to expose clean metal. Aggressive sanding is unnecessary and may damage the contact area.
A clean soldering tip and properly prepared contact surface will make the installation considerably easier. If the solder refuses to bond to the contact, stop and clean the surface again rather than applying excessive heat.
Take particular care when closing the instrument cluster. The new wires occupy space that was not used by the original bracket, so check their position carefully before installing the screws.
Video Tutorial
If you prefer to see the installation in practice, the video below takes you through the complete BMW E30 voltmeter installation. It shows how to open the instrument cluster, mount the voltmeter, prepare the electrical contacts, solder the two connections and safely route the wiring before reassembling the cluster.
The detailed instructions below can be used alongside the video as a step-by-step reference during installation.