

BMW E92 Outer Taillight LED Strip Repair Guide
The outer rear lights on pre-LCI BMW E92 models use integrated LED strips that can fail even when the rest of the lamp is still in good condition. Instead of replacing the complete taillight, the Mod-ing E92 outer taillight LED repair kit allows the failed PCB to be replaced while retaining the original BMW lamp housing.
This guide covers repair of the outer rear lamps corresponding with:
The repair kit is intended for compatible pre-facelift / pre-LCI BMW E92 outer LED taillights.
Tools and Parts Required
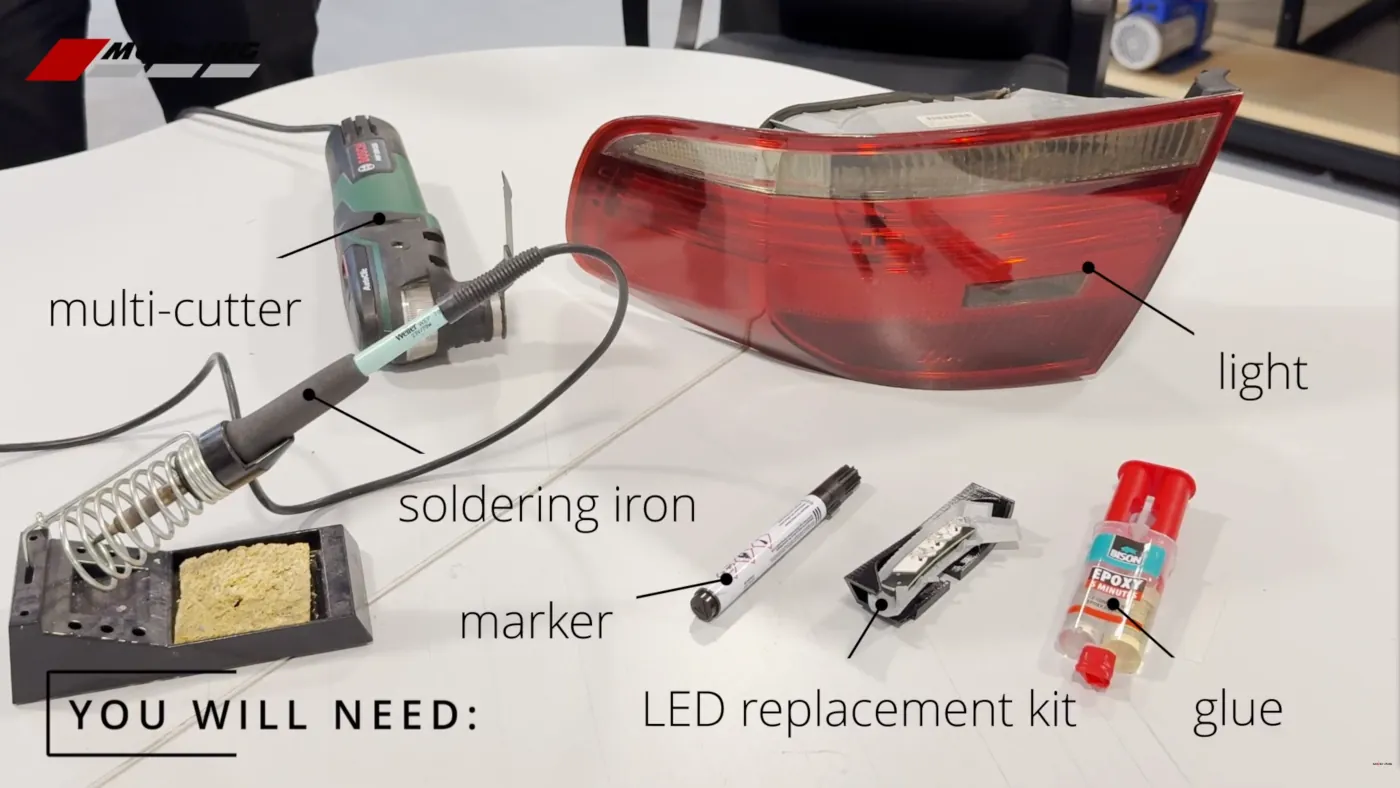
You will need:
- Mod-ing E92 outer taillight LED repair kit
- Supplied cutting stencil
- Multi cutter or rotary tool
- Soldering iron and solder
- Marker
- Suitable adhesive
- Side cutters
- Tape if required
Step 1 – Mark and Cut the Housing
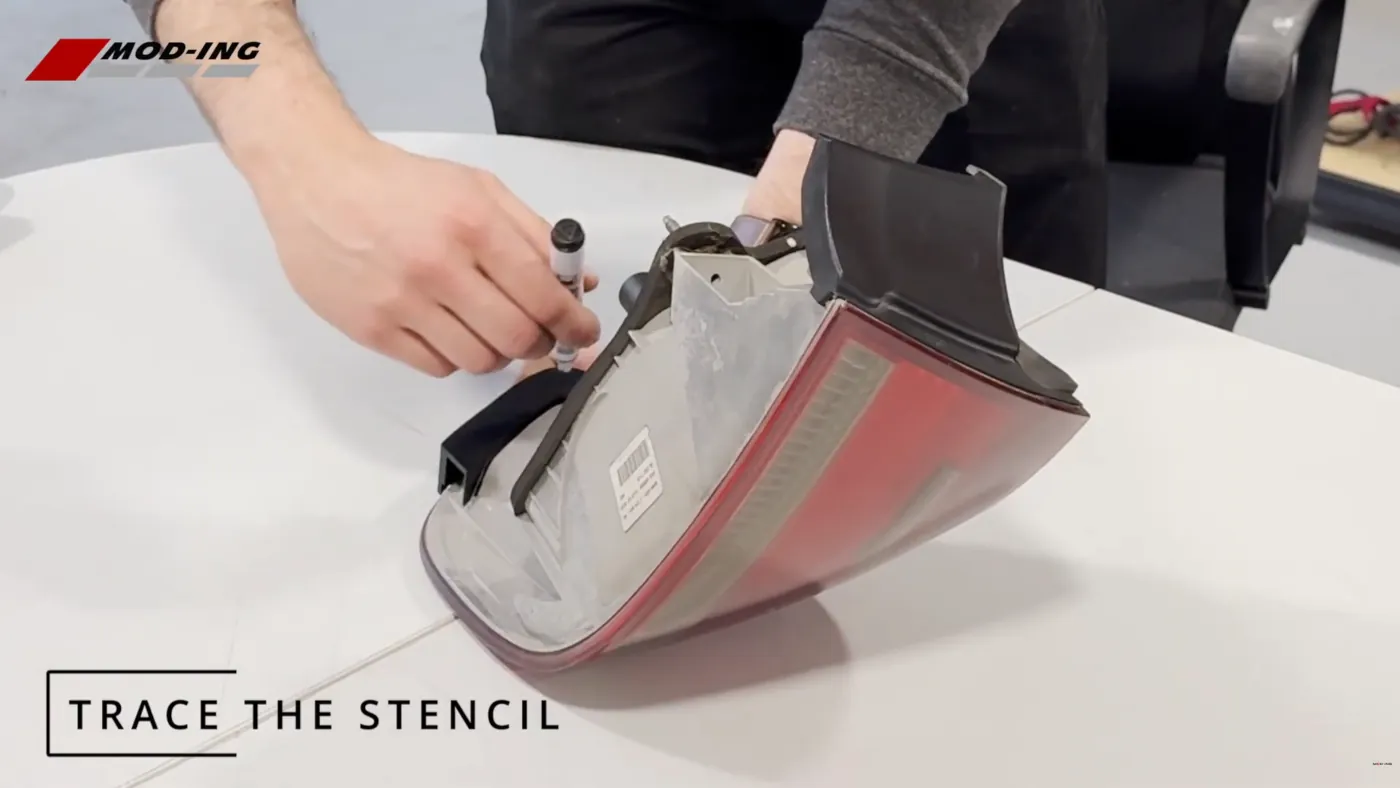
Position the supplied stencil on the rear of the taillight housing and trace the cutting outline with a marker.
Once marked, carefully cut along the line using a multi cutter or suitable rotary tool.
Work slowly and keep the cutting depth controlled to avoid damaging the components behind the housing.
After cutting, remove the opened section of plastic to expose the original LED PCB.
Step 2 – Replace the Original PCB
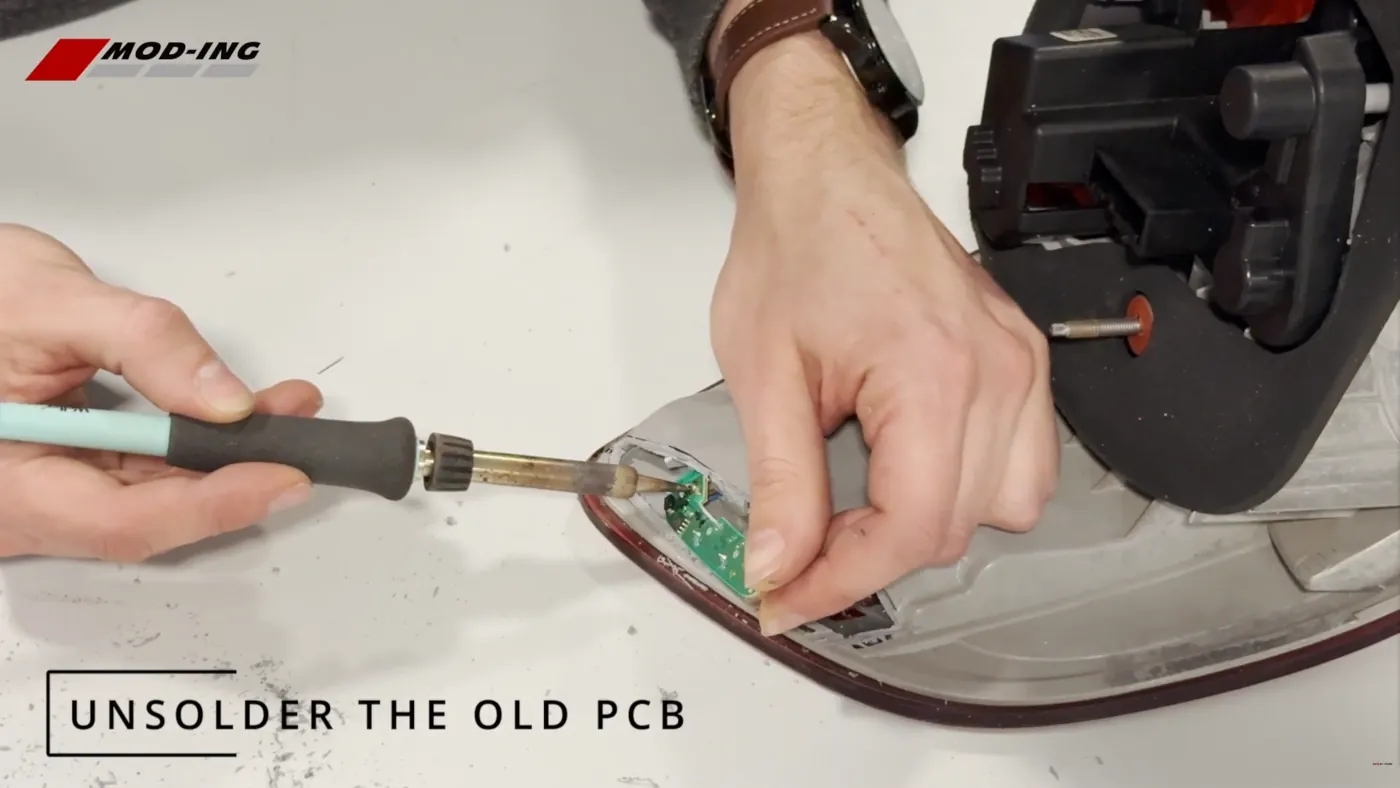
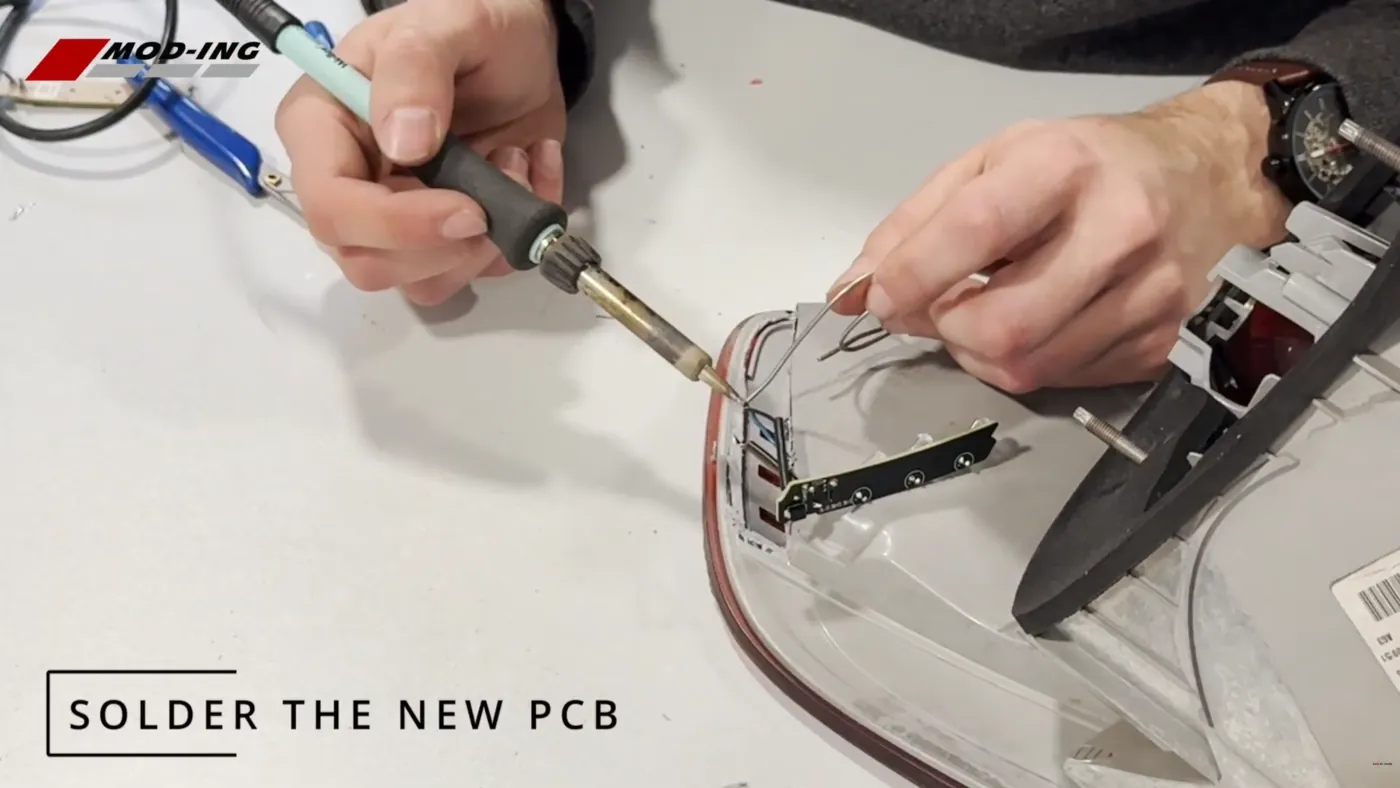
Desolder the original LED PCB from the lamp wiring and remove it from the housing.
Position the new Mod-ing replacement board in the same location and solder it to the original wiring.
Make sure the connections are secure and that the replacement PCB is correctly aligned with the original LED light guide.
Step 3 – Prepare the Opening
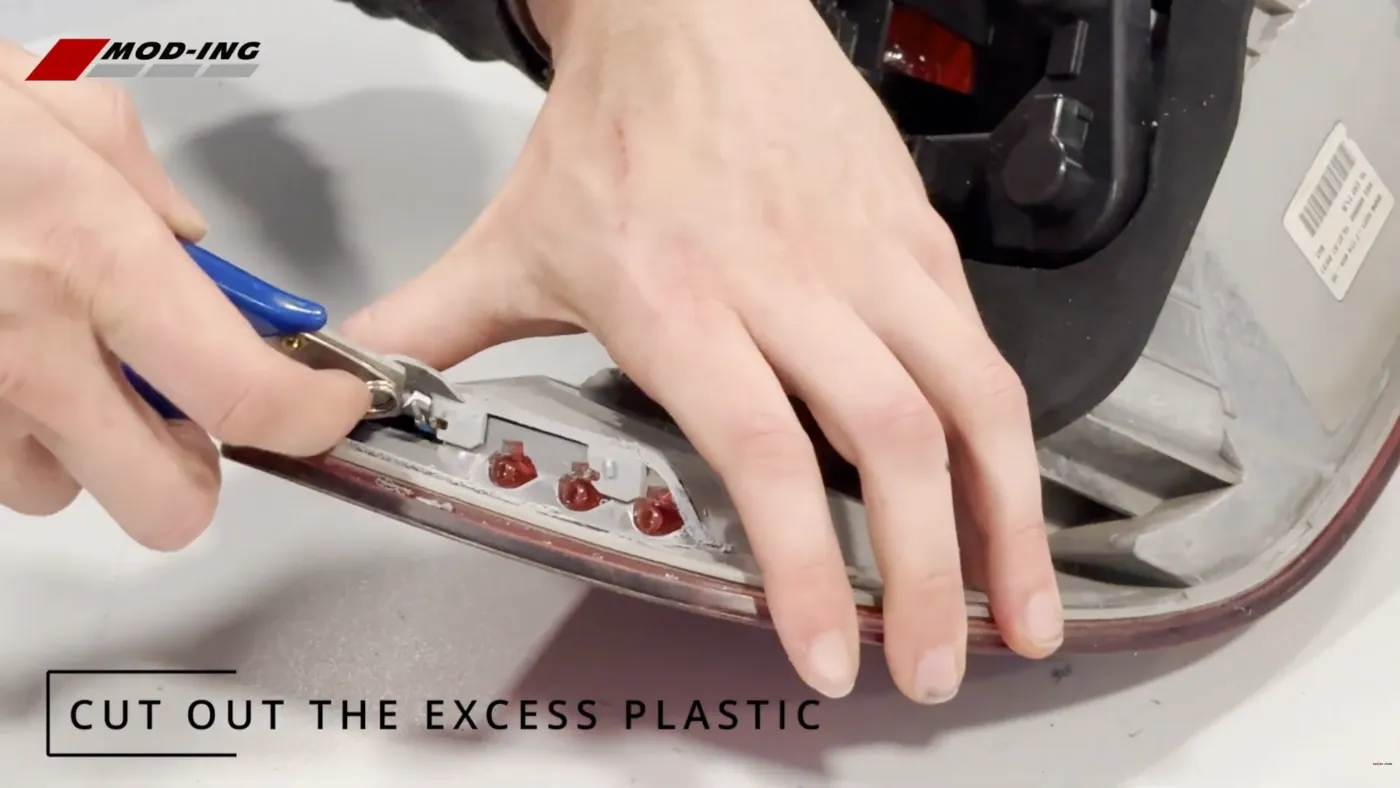
After the PCB has been installed, clean up the cut opening.
Use side cutters or a suitable trimming tool to remove excess plastic and any rough edges left from cutting.
The surface around the opening should be reasonably flat so that the supplied replacement shell can sit correctly against the original housing.
Step 4 – Install the Replacement Shell
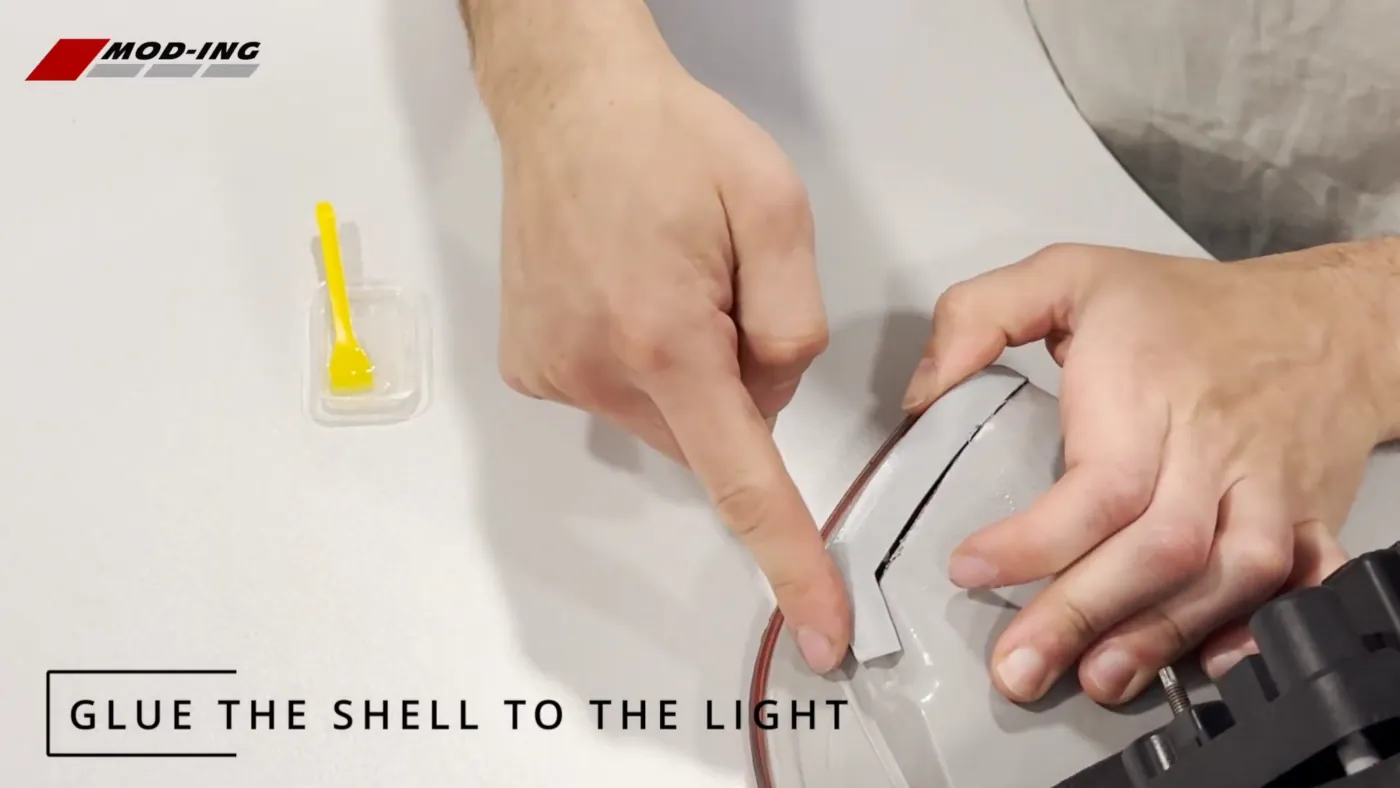
Apply suitable adhesive around the edge of the replacement cover and position it over the opening.
Press it evenly against the original housing and make sure the perimeter is fully sealed.
Tape can be used to hold the shell in position while the adhesive cures.
Allow sufficient time for the adhesive to dry completely before reinstalling the taillight.
Step 5 – Reinstall the Taillight
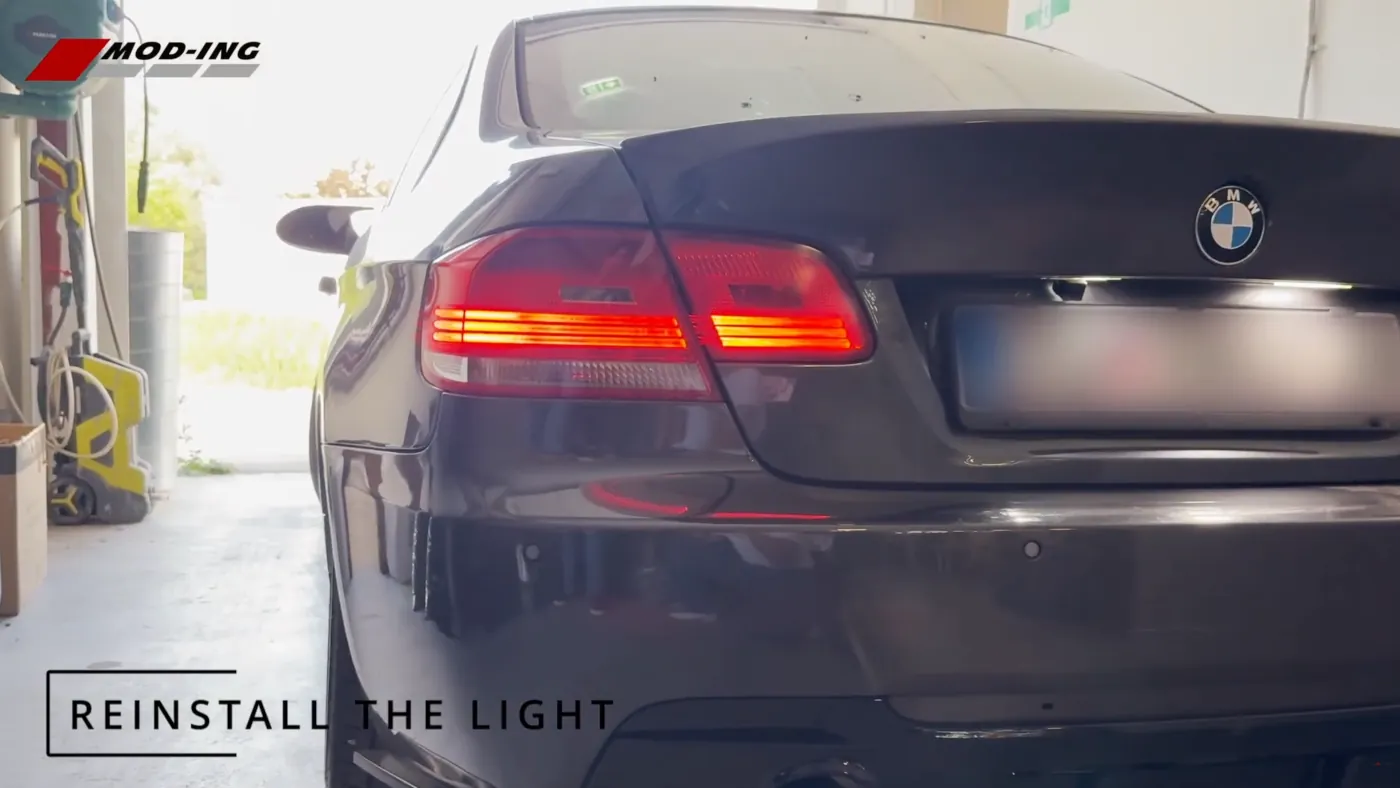
Once the adhesive has fully cured, reinstall the lamp into the BMW E92 and reconnect the original electrical connector.
Check that the repaired LED strip operates correctly and that the lamp is securely mounted.
Video Tutorial
If you prefer to see the repair before starting, the video below shows the complete process from marking and opening the housing to replacing the PCB and sealing the lamp again.