

BMW E30 Headlight Clip and Adjuster Repair
The original BMW E30 headlight adjusters often become brittle, seized or damaged after decades of use. Once the plastic clips or adjustment components fail, the headlight can become loose in its frame or impossible to aim correctly.
The Mod-ing BMW E30 headlight adjuster repair kit replaces the worn plastic components while allowing the original metal adjuster rods and headlight frame to be reused.
This guide covers removal of the old adjusters, cleaning and restoring the threaded rods, installation of the new repair components and reassembly of the headlight.
Tools and Parts Required
For the repair you will need:
- Mod-ing BMW E30 headlight adjuster repair kit
- Headlight assembly
- Pliers
- Brass brush
- Metal file
- Rust remover
- Suitable adhesive
- Drill – optional, but useful for removing stubborn original clips
Work on a clean surface and keep track of the original position of each adjuster rod during disassembly.
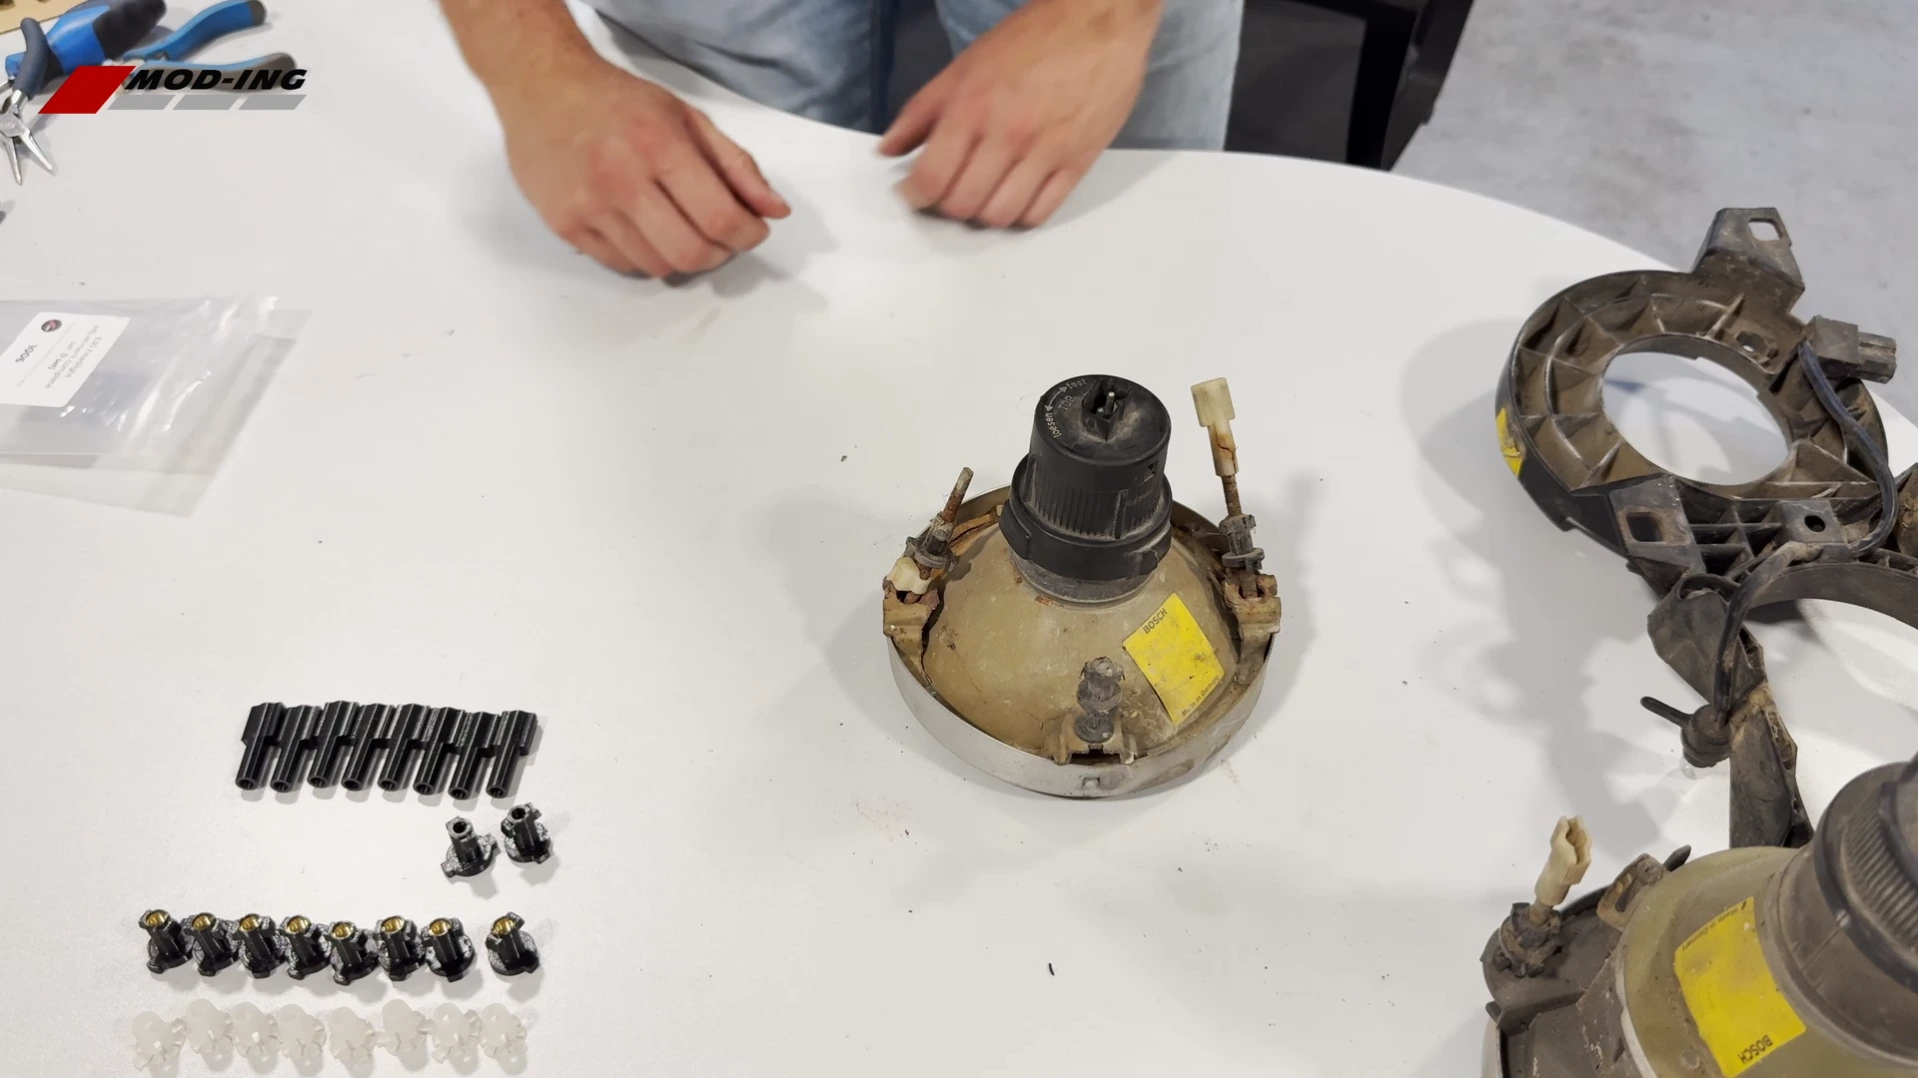
Step 1 – Separate the Headlight From the Frame
The E30 headlight is connected to its mounting frame at three adjuster points.
Using pliers, rotate the retaining clips on the adjuster rods until they release from the frame.
Carefully push each adjuster free and separate the headlight from the mounting frame.
Avoid forcing the old plastic components, as they may already be brittle and can break apart during removal.
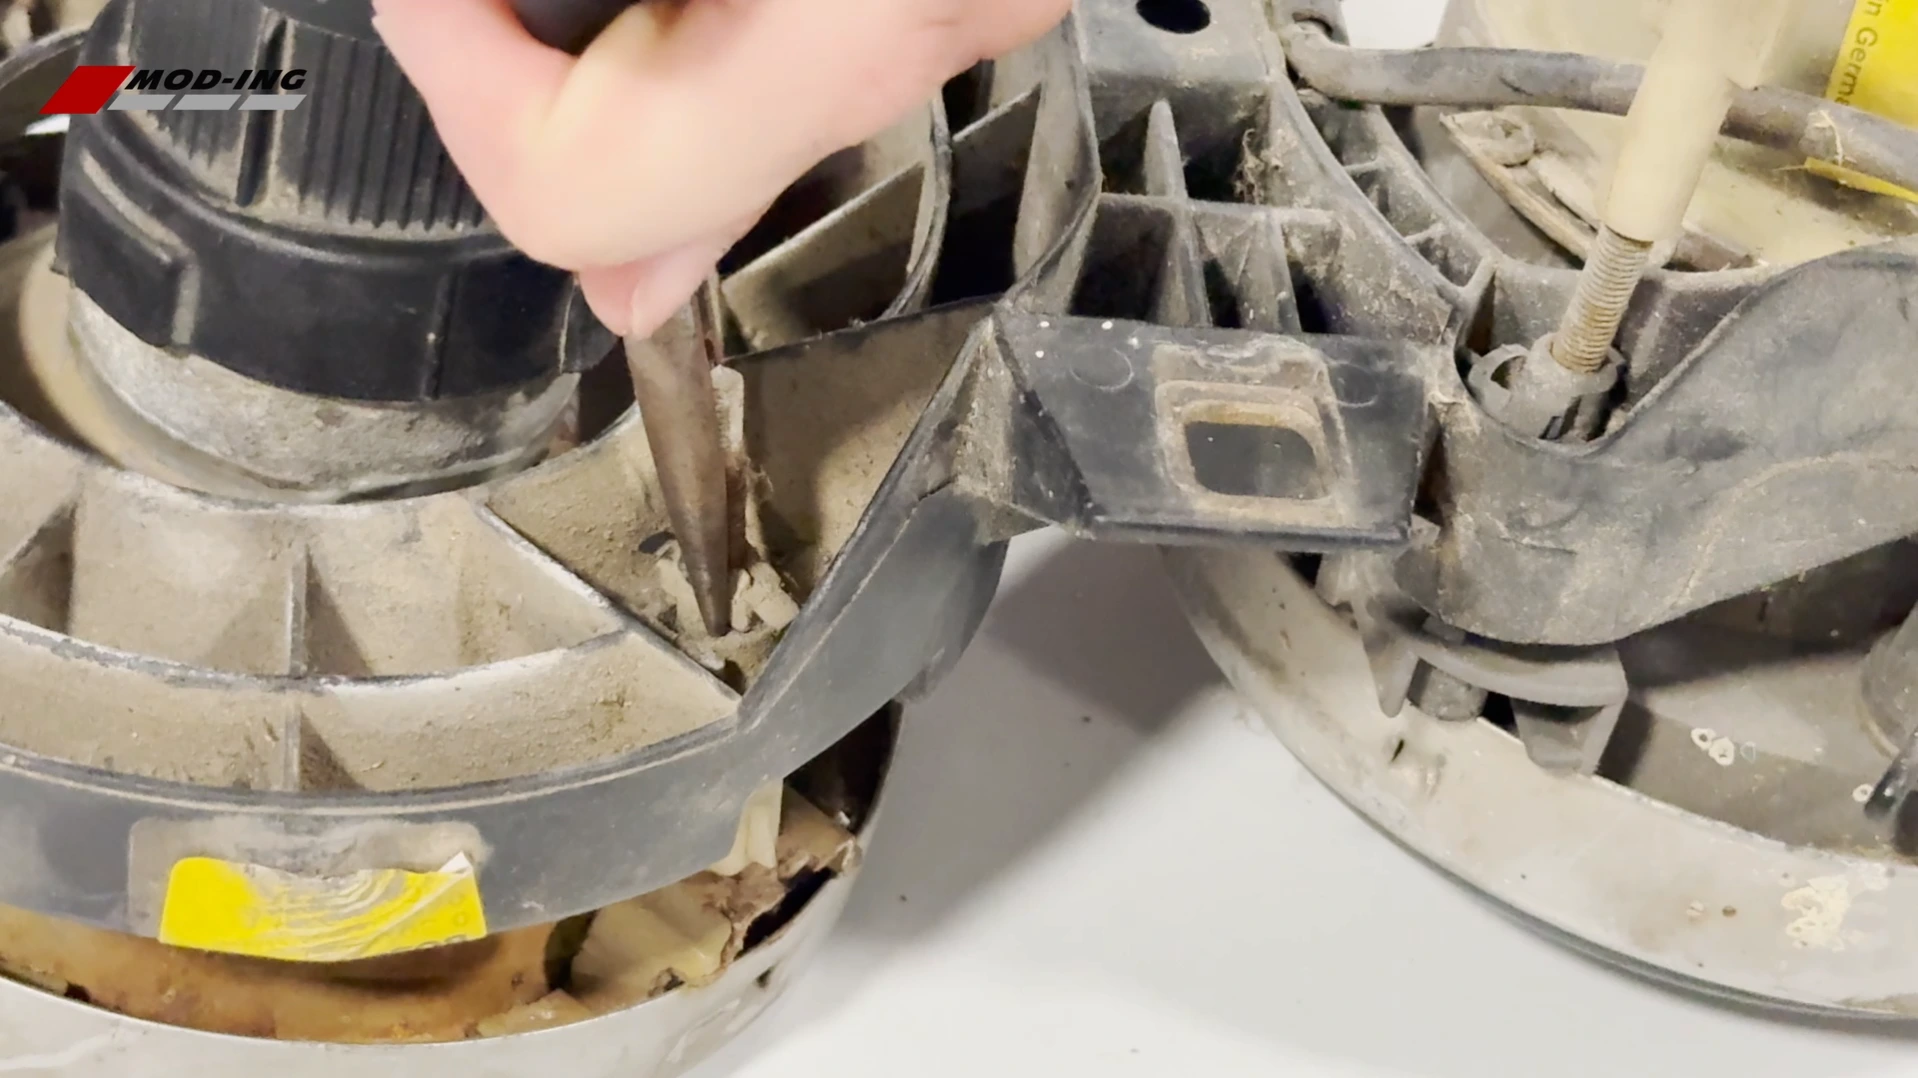
Step 2 – Remove the Original Adjuster Components
With the headlight separated from the frame, remove the adjuster rods and any remaining original plastic components.
Some E30 headlights have already been repaired during their lifetime, so you may encounter zip ties, improvised clips or other temporary fixes. Remove anything that prevents the adjusters from being taken apart normally.
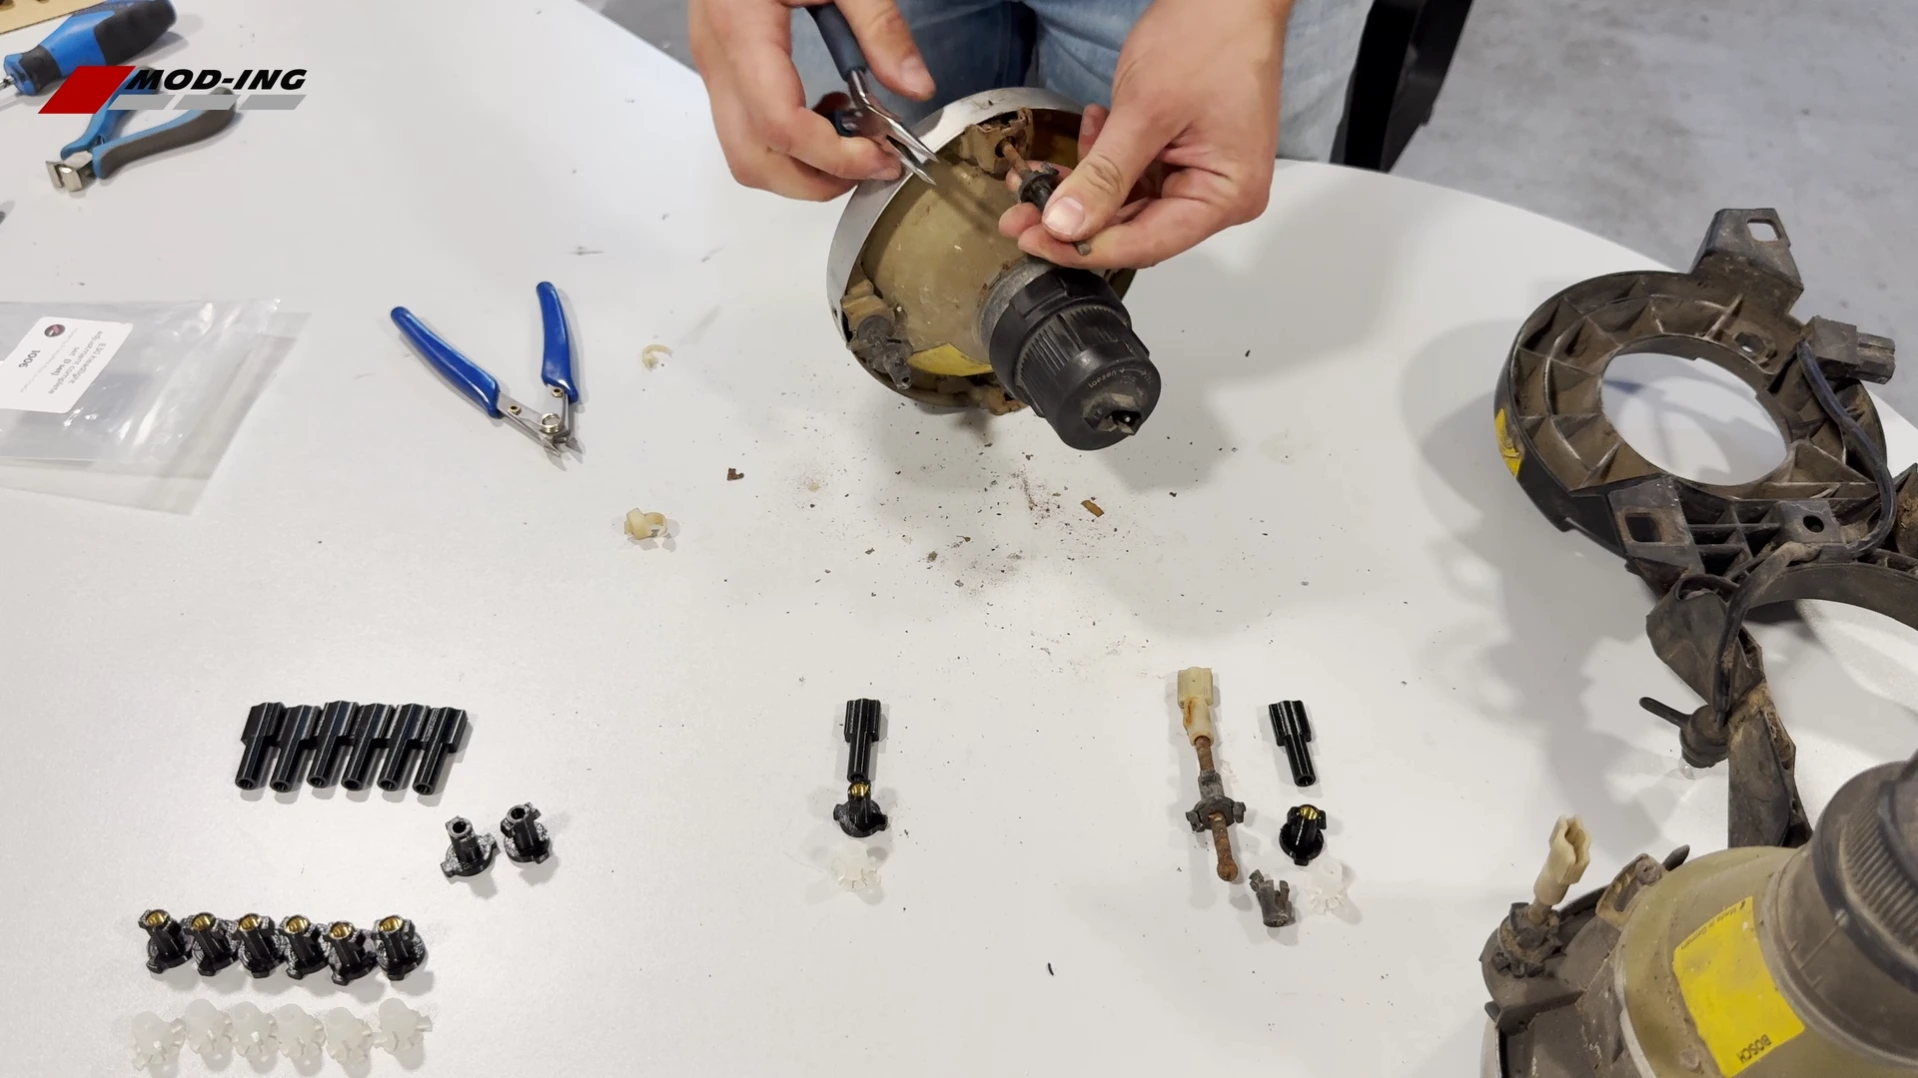
One of the original threaded clips can sometimes be difficult to remove from the adjuster rod.
A simple method is to secure the rod in a drill, hold the old clip with pliers and slowly rotate the rod using the drill. This allows the threaded rod to unscrew itself from the old plastic component.
Use low speed and only enough force to release the part.
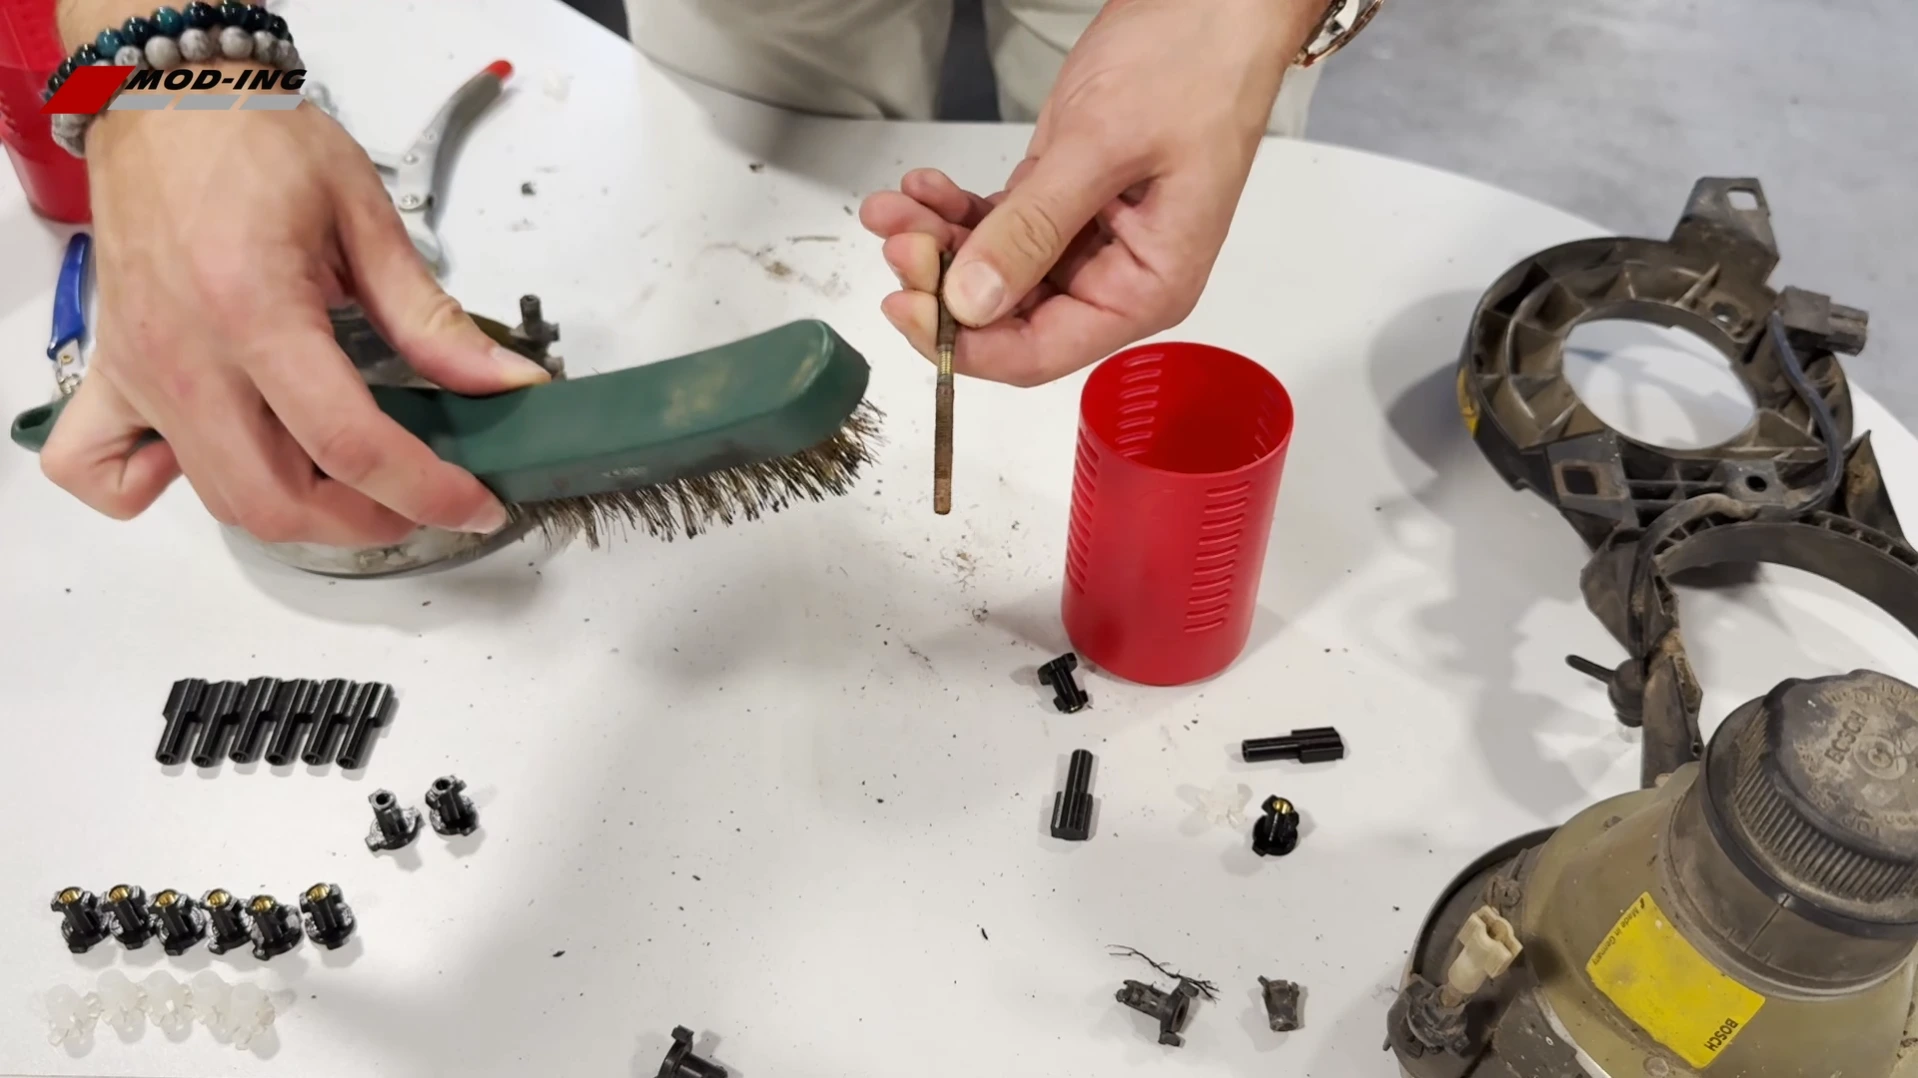
Step 3 – Clean and Restore the Adjuster Rods
With all of the old components removed, this is a good opportunity to clean the original metal adjuster rods.
Start with a brass brush to remove loose rust, dirt and surface buildup.
If the rods are heavily corroded, place them into a suitable rust-removal solution.
Follow the soaking time recommended by the rust-remover manufacturer. Depending on the condition of the rods and the product used, they may need to soak for several hours or overnight.
Once cleaned, rinse or neutralise them as required by the rust remover and allow the rods to dry completely before installing the new parts.
Step 4 – Install the New Adjuster Components
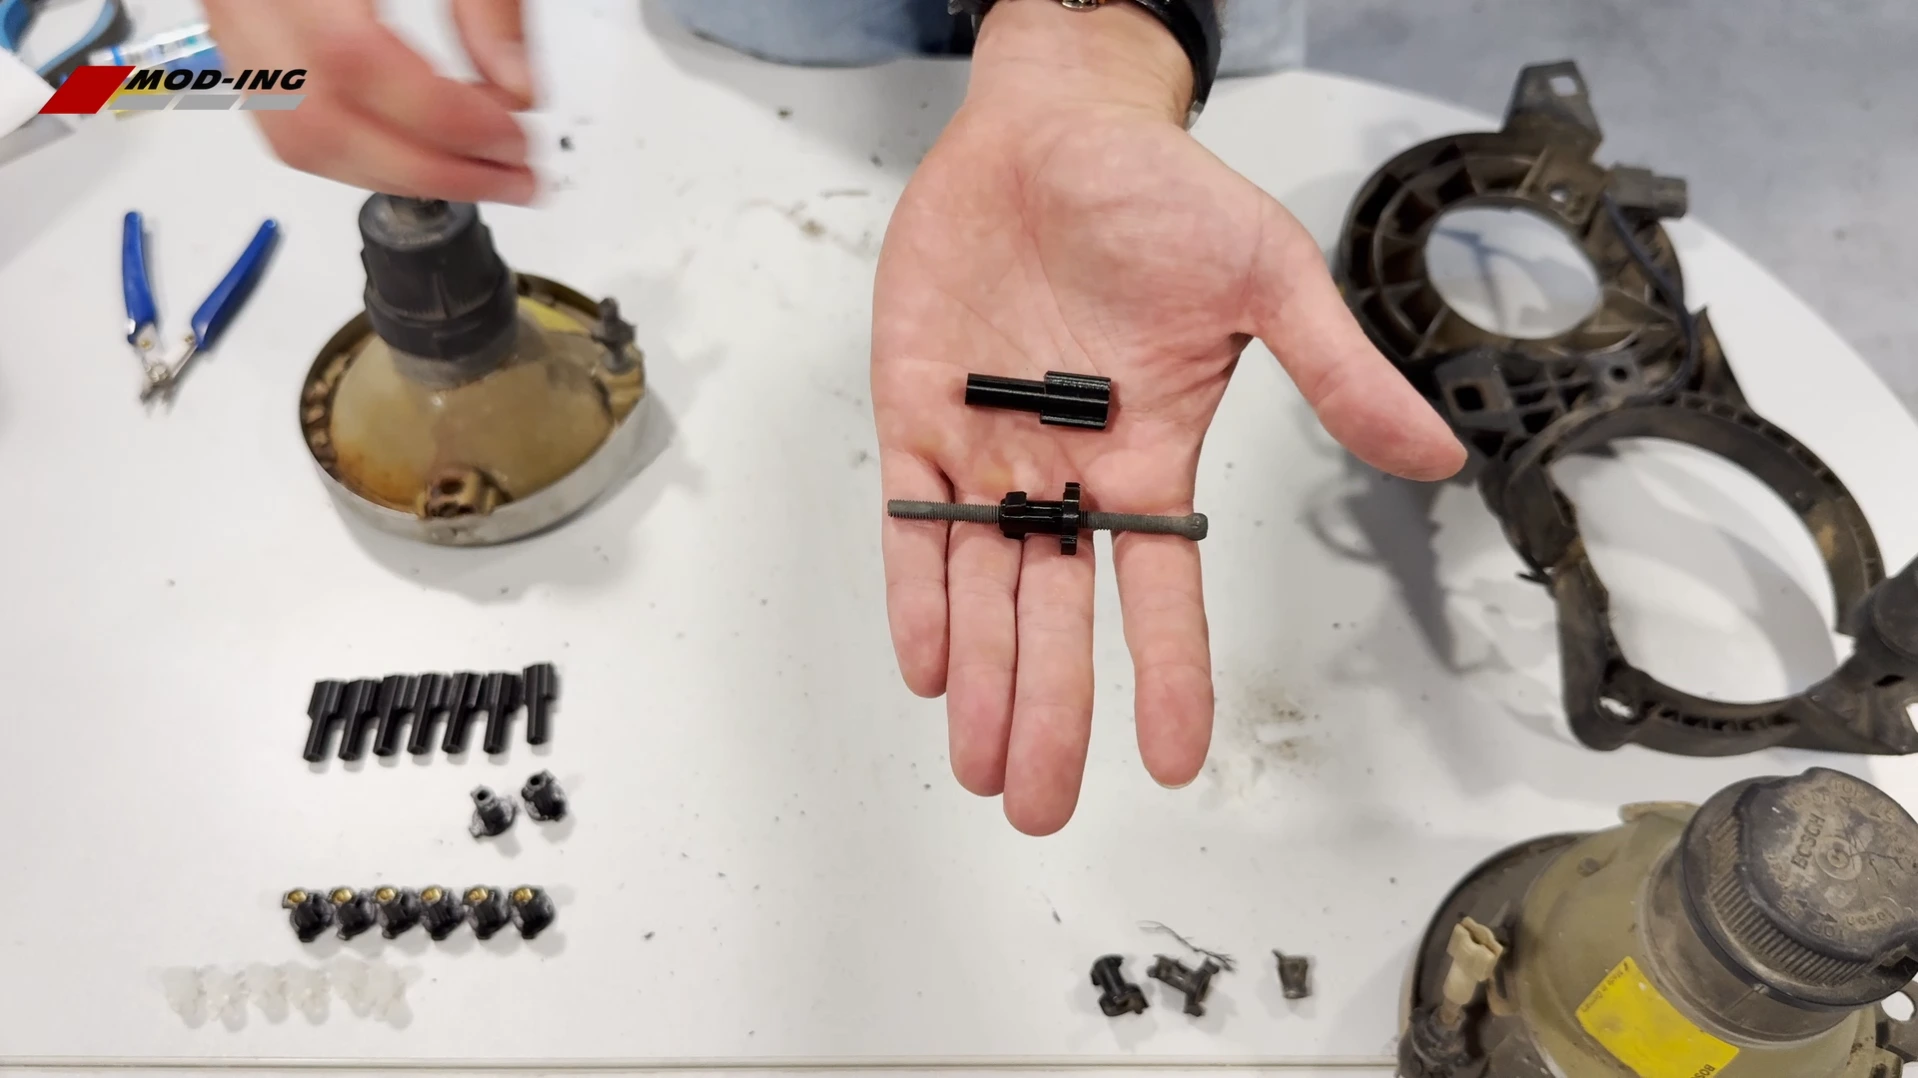
Begin by threading the new adjuster clip onto the threaded section of the original rod.
Screw it on smoothly and make sure it engages correctly with the existing threads.
At the opposite end of the rod, install the new adjustment knob.
Because this end of the original rod is not threaded, the knob must be secured with a suitable adhesive.
Apply only enough adhesive to hold the component securely and allow it to cure completely before continuing.
Once the adhesive has dried, install the new white ball-joint clips onto the ball ends of the adjuster rods.
Step 5 – Reinstall the Adjusters Into the Frame
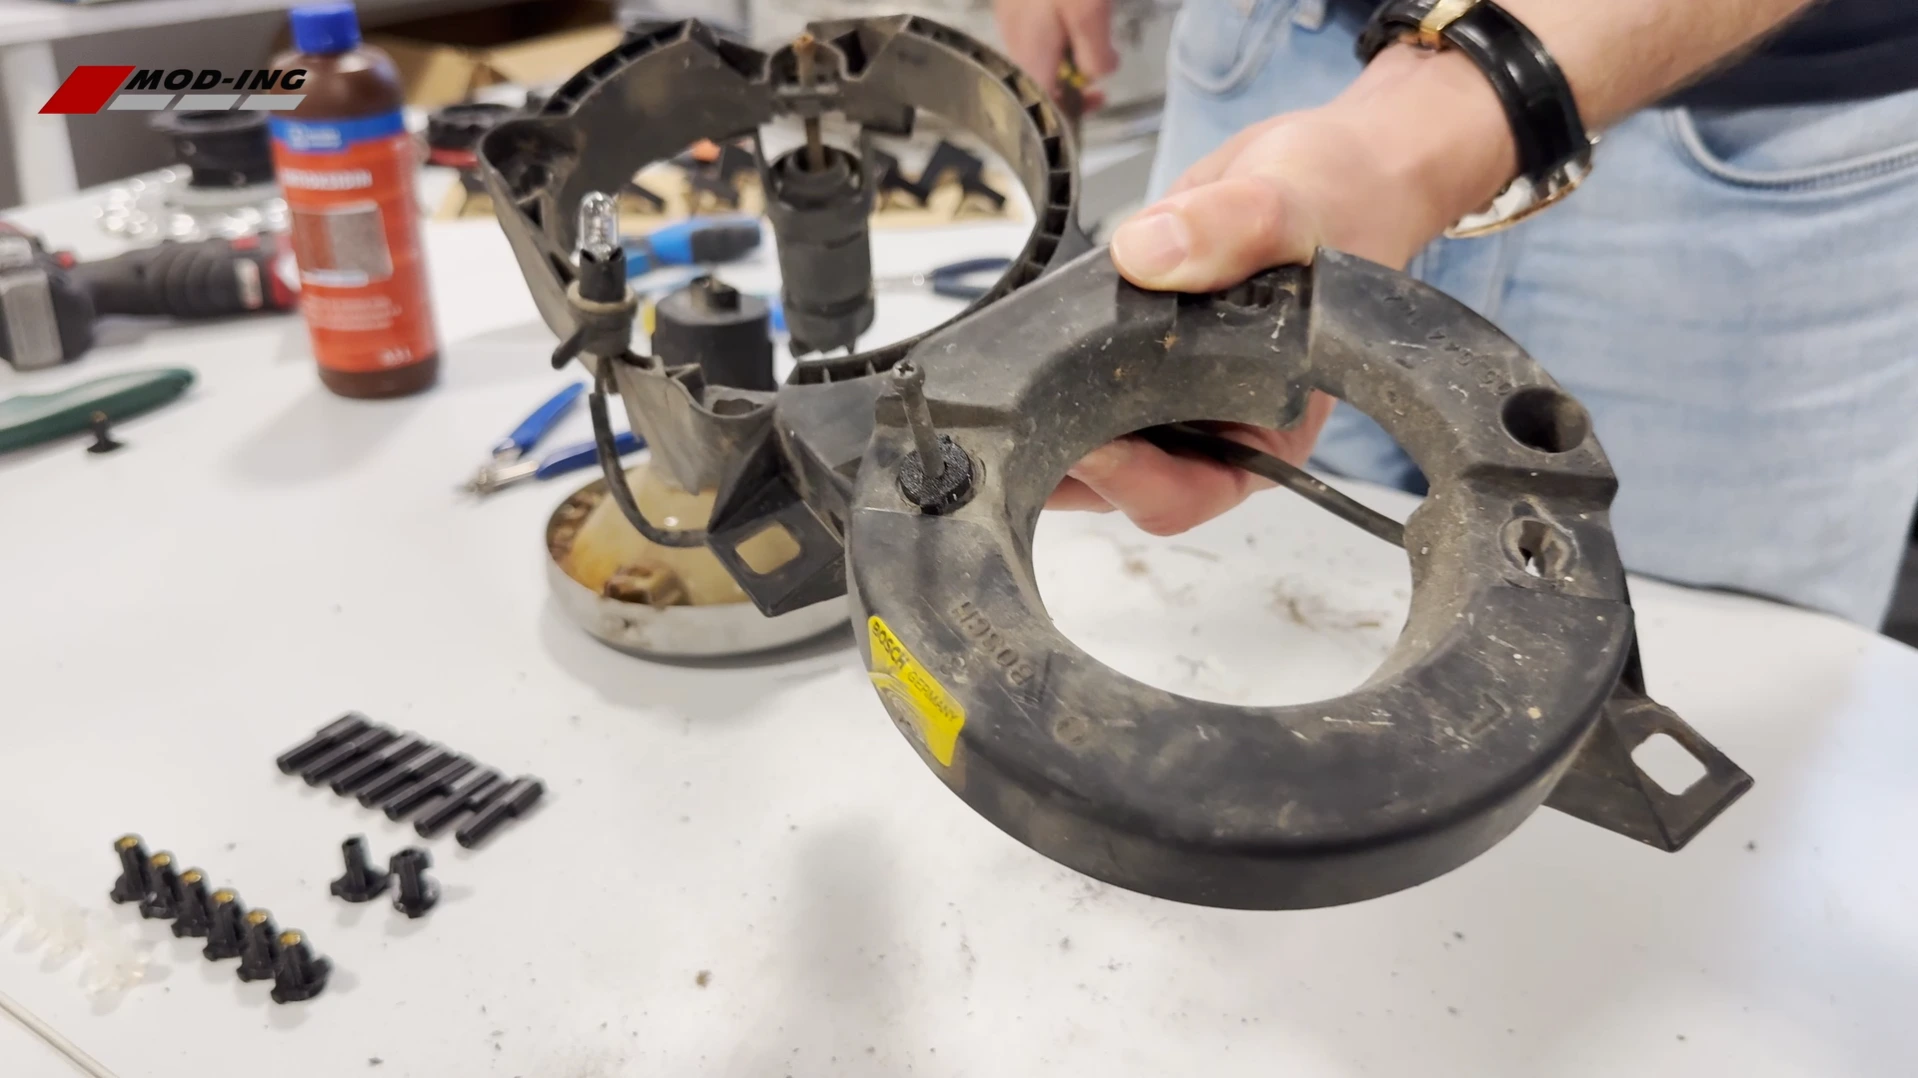
Insert each restored adjuster rod back through the headlight frame in the same position from which it was removed.
Push the rod into position and rotate it until the new threaded adjuster clip locks securely into the frame.
Repeat the procedure for all three adjuster locations.
Before reconnecting the headlight, check that each adjuster turns freely and that the new components remain securely in position.
Step 6 – Clean the Ball-Joint Mounting Points
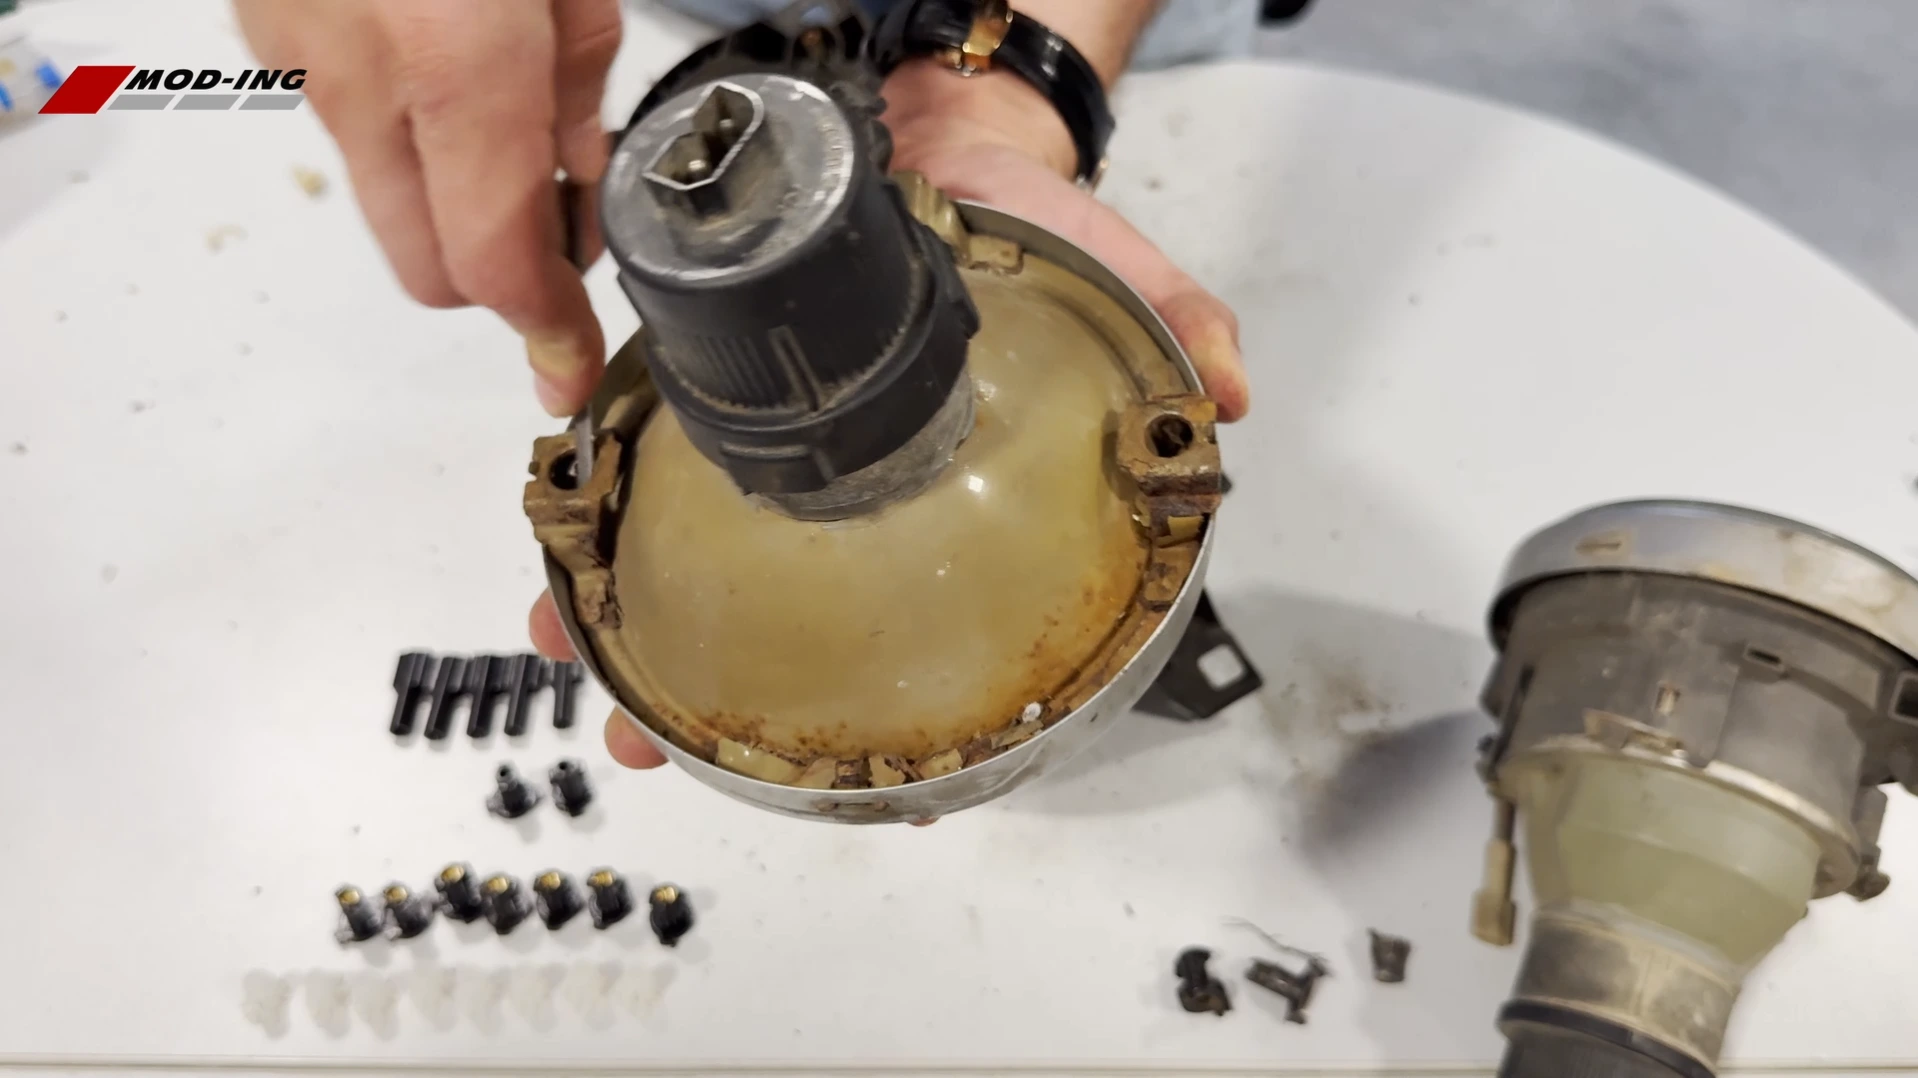
Before pressing the new ball joints into the headlight, clean the corresponding sockets in the headlight assembly.
Use the brass brush to remove dirt, rust and old residue from inside each mounting point.
If corrosion or buildup prevents the new ball joint from seating properly, carefully clean the socket with a small metal file.
Only remove enough material to clean the original mounting surface. Avoid enlarging the socket unnecessarily.
Step 7 – Reconnect the Headlight to the Frame
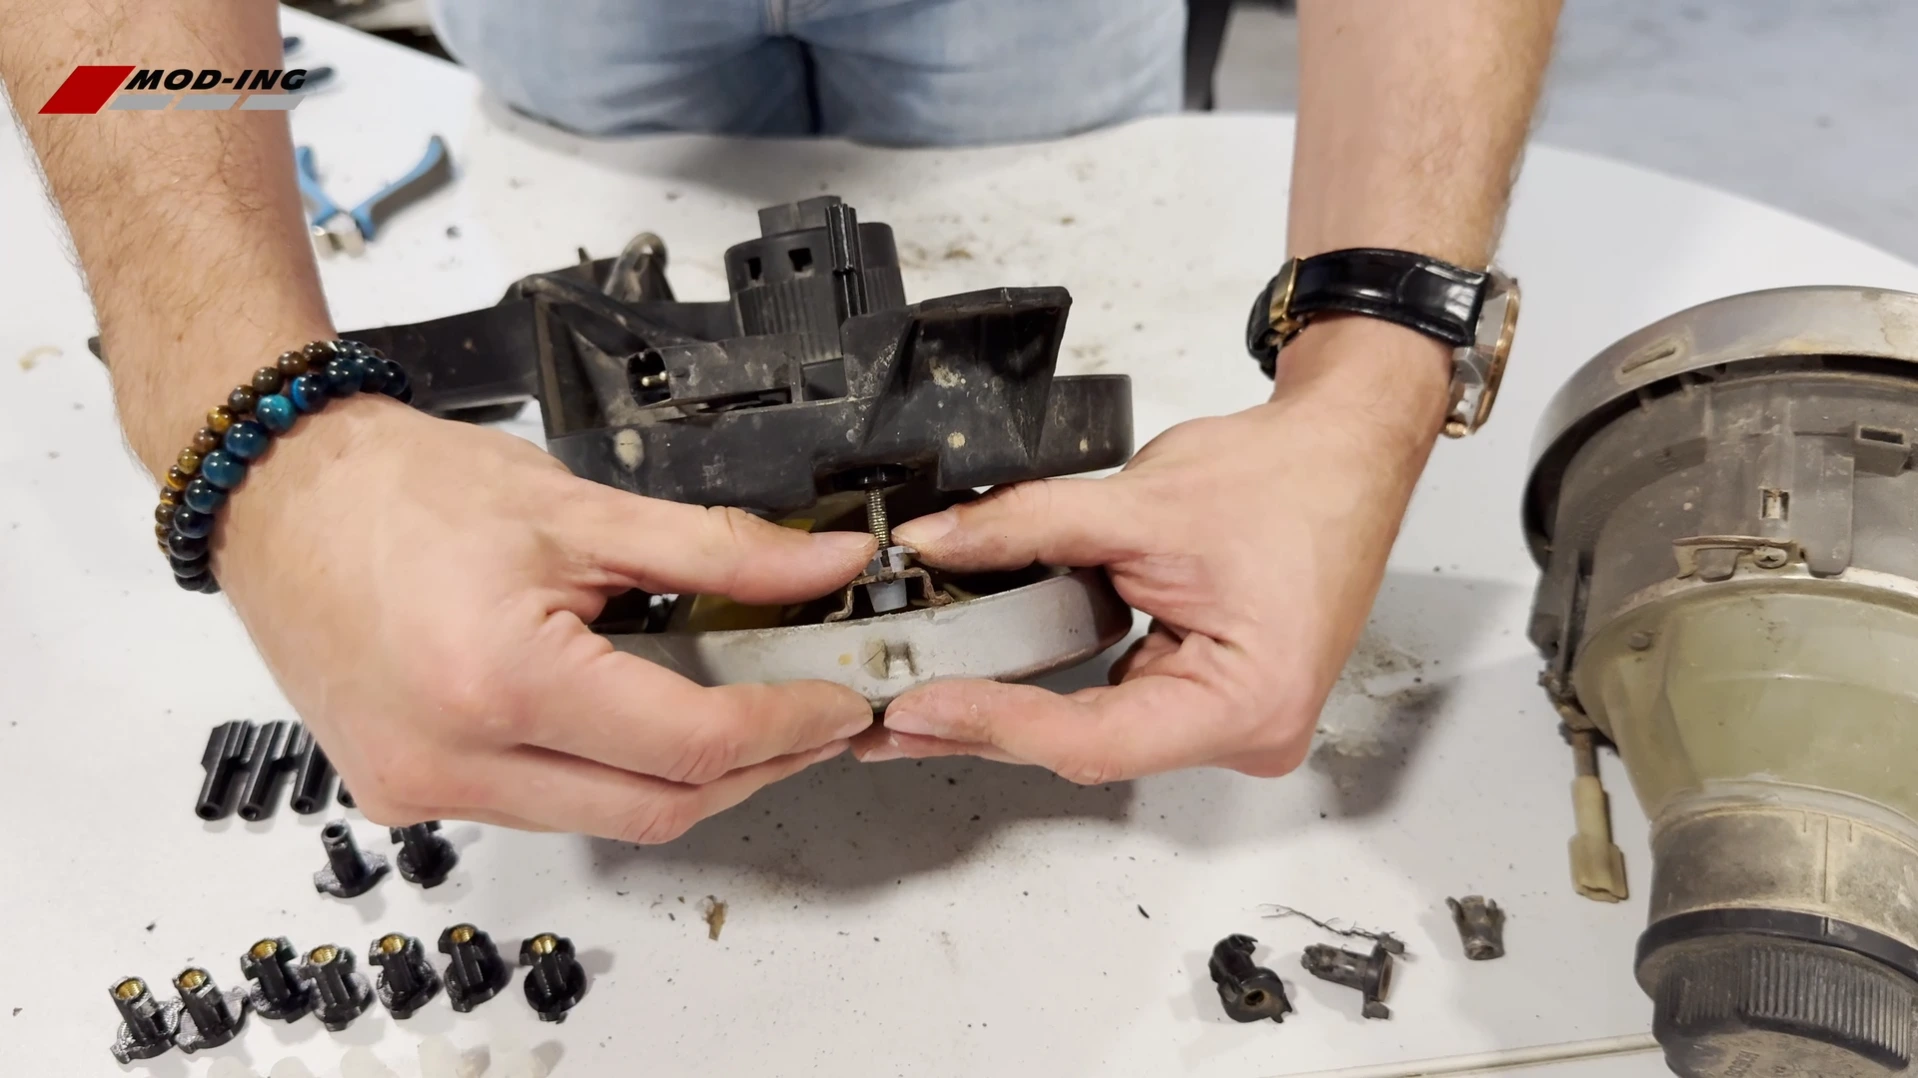
Align each new ball-joint clip with its corresponding socket in the headlight.
Press the joint firmly into position until it is fully seated.
Repeat this for all three adjuster rods.
Once assembled, check that the headlight is securely held within the frame and that none of the ball joints can pull out easily.
Turn the adjustment knobs and confirm that the headlight moves smoothly through its adjustment range.
Installation Tips
Take a photo of the adjuster positions before dismantling the headlight. This makes it easier to reinstall each rod in the correct location.
Allow the adhesive securing the new adjustment knob to cure completely before operating the adjuster.
Cleaning the original metal rods and ball-joint sockets is worth the extra time. New plastic parts fitted onto heavily corroded components may still feel stiff or fail to seat correctly.
Once repaired, the Mod-ing BMW E30 headlight adjuster kit restores the original adjustment mechanism and allows the factory headlight assembly to be reused instead of replacing otherwise serviceable components.
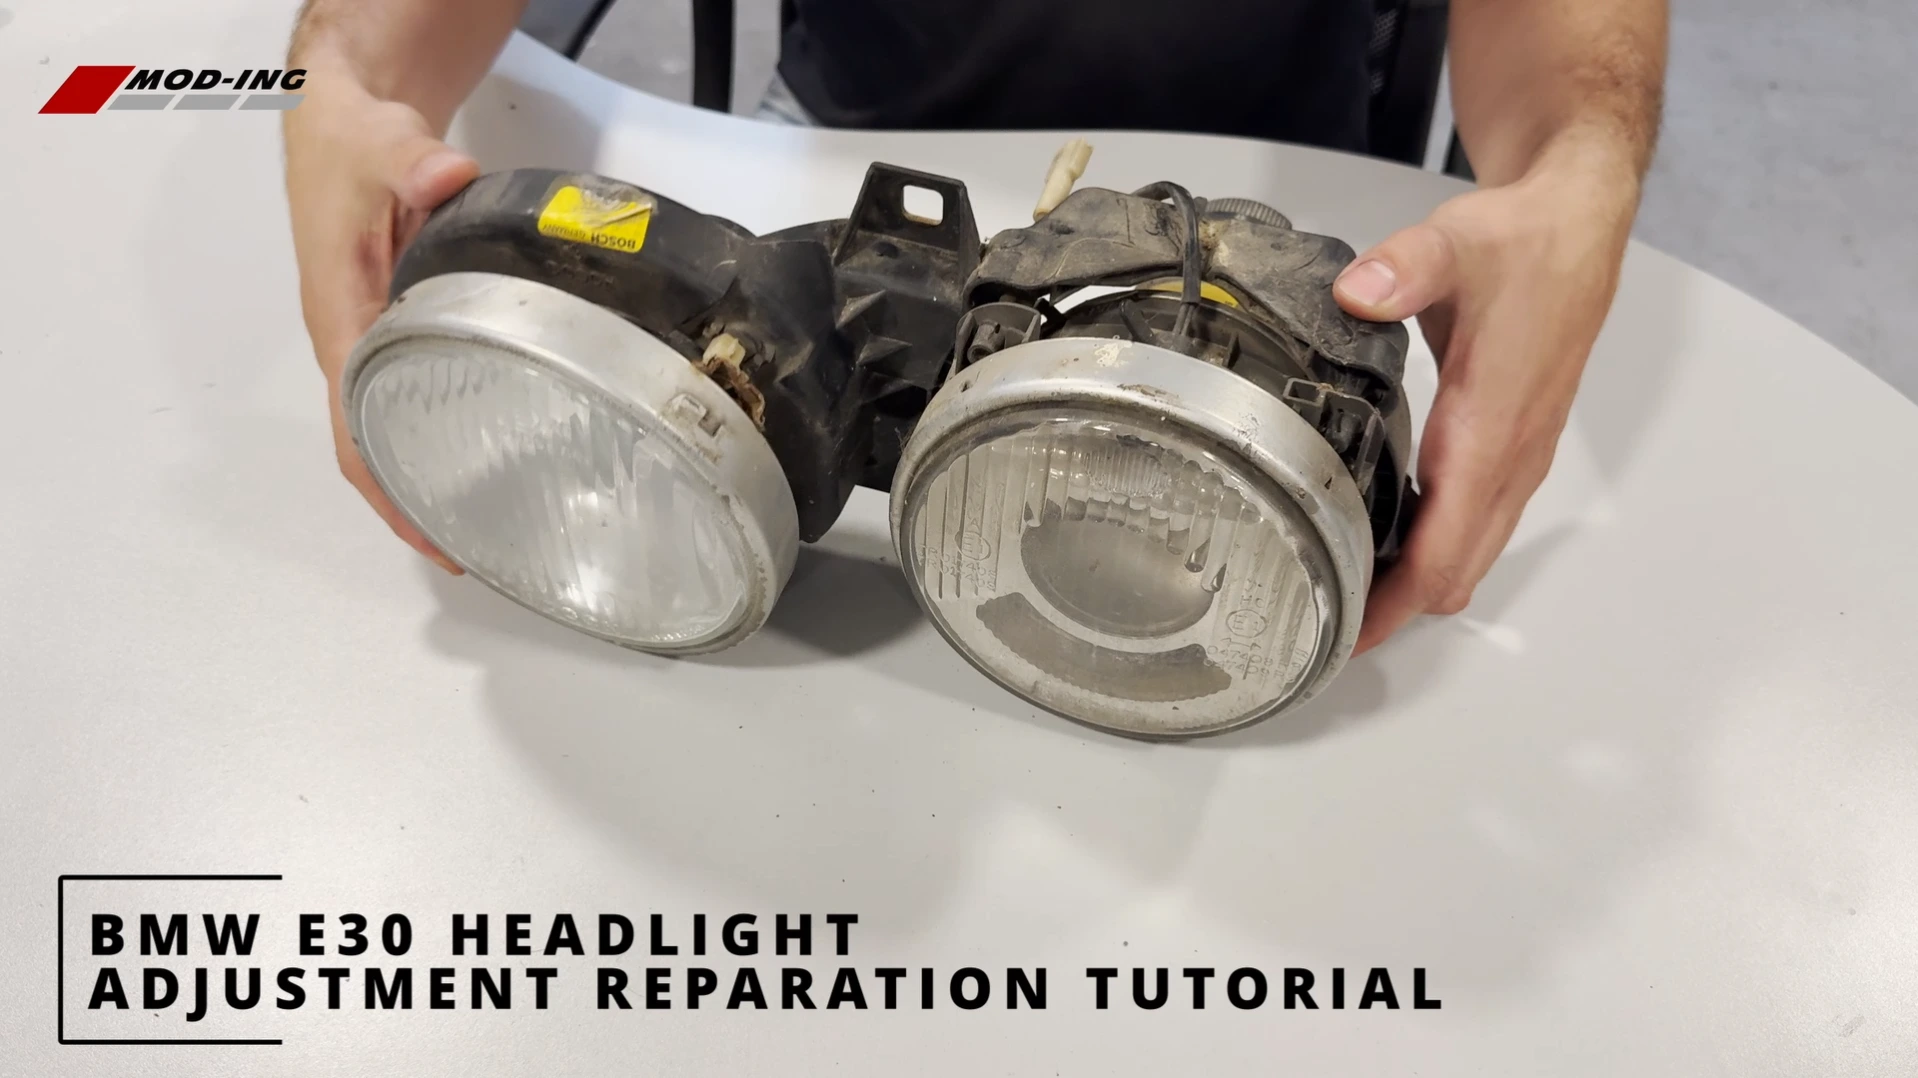
Video Tutorial
If you prefer to see the repair in practice, the video tutorial below shows the complete process from separating the headlight from its frame and removing the original adjusters to restoring the rods, installing the new components and reconnecting the headlight assembly.
The instructions below can be used alongside the video as a step-by-step reference during the repair.